Reparing a MacBook Pro 2015
Installing MacOS Somara on a 2015 Mac
I got this MacBook Pro from 2015. I is a good laptop, and I picked it up second hand for 600 NOK. That is a low price for a mac. So there got to be a catch. The catch is that the keyboard and mouse are dead. In this post is am fixing this by replacing it’s motherboard.
It’s original owner told me to use with an external keyboard. That is true, but everyone understands that a laptop without a keyboard is of limited use. If I did it as a DIY project it is both fun and cost effective to fix this machine.
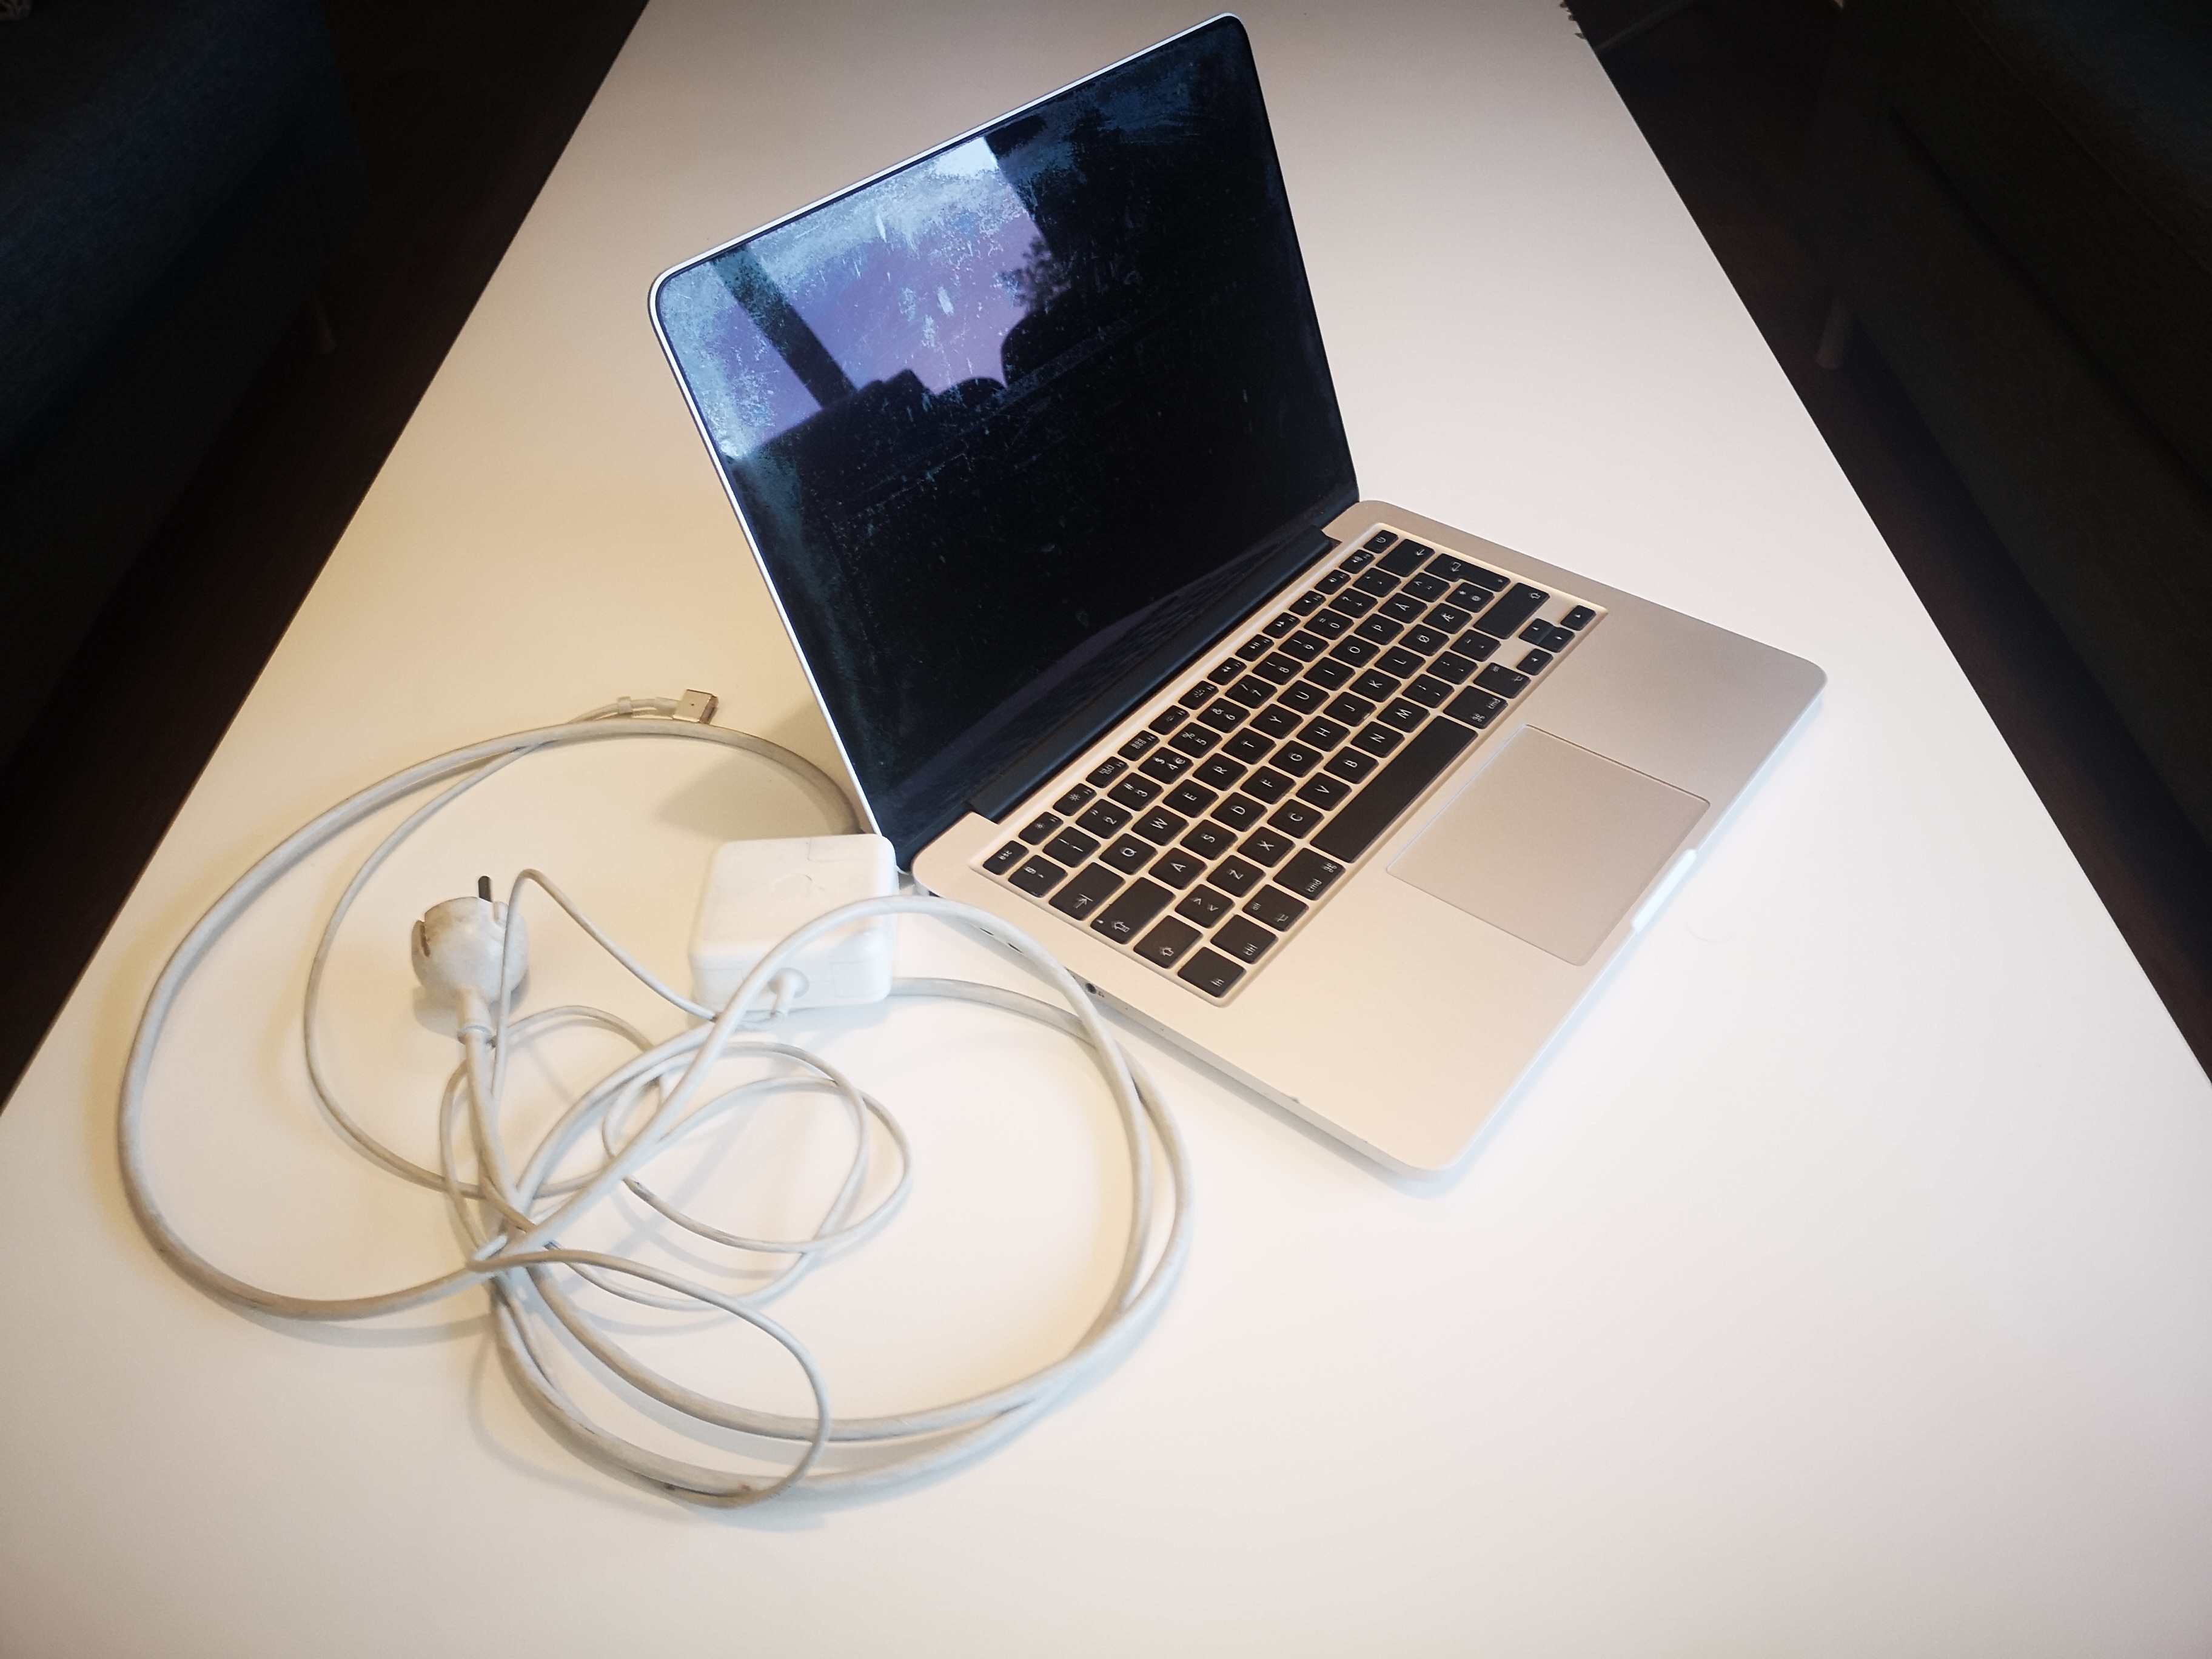
Modern laptops is almost just a single circut board with all the components printed on them. So when both the mouse and the keyboard I guess the issue is something going on the motherboard. But before it makes sense to dig deep in the pockets for a new motherboard I have to make it worth the effort. Anything useful will do. I have a dream of one day use docker to run photoprism on this laptop. That can be a benchmark.
Problem Identification
But first some software diagnostics.
The only button which works is the power button. So I hope we can keep that button somehow.
But before we stared replacing parts I did some tests to see that the machine works. I had not validated that no other important parts are also malfunctionining. If that is the case time and money could be at jeopardy. I wanted to start it up and validate the speakers and the hard drive.
So turned the thing on.
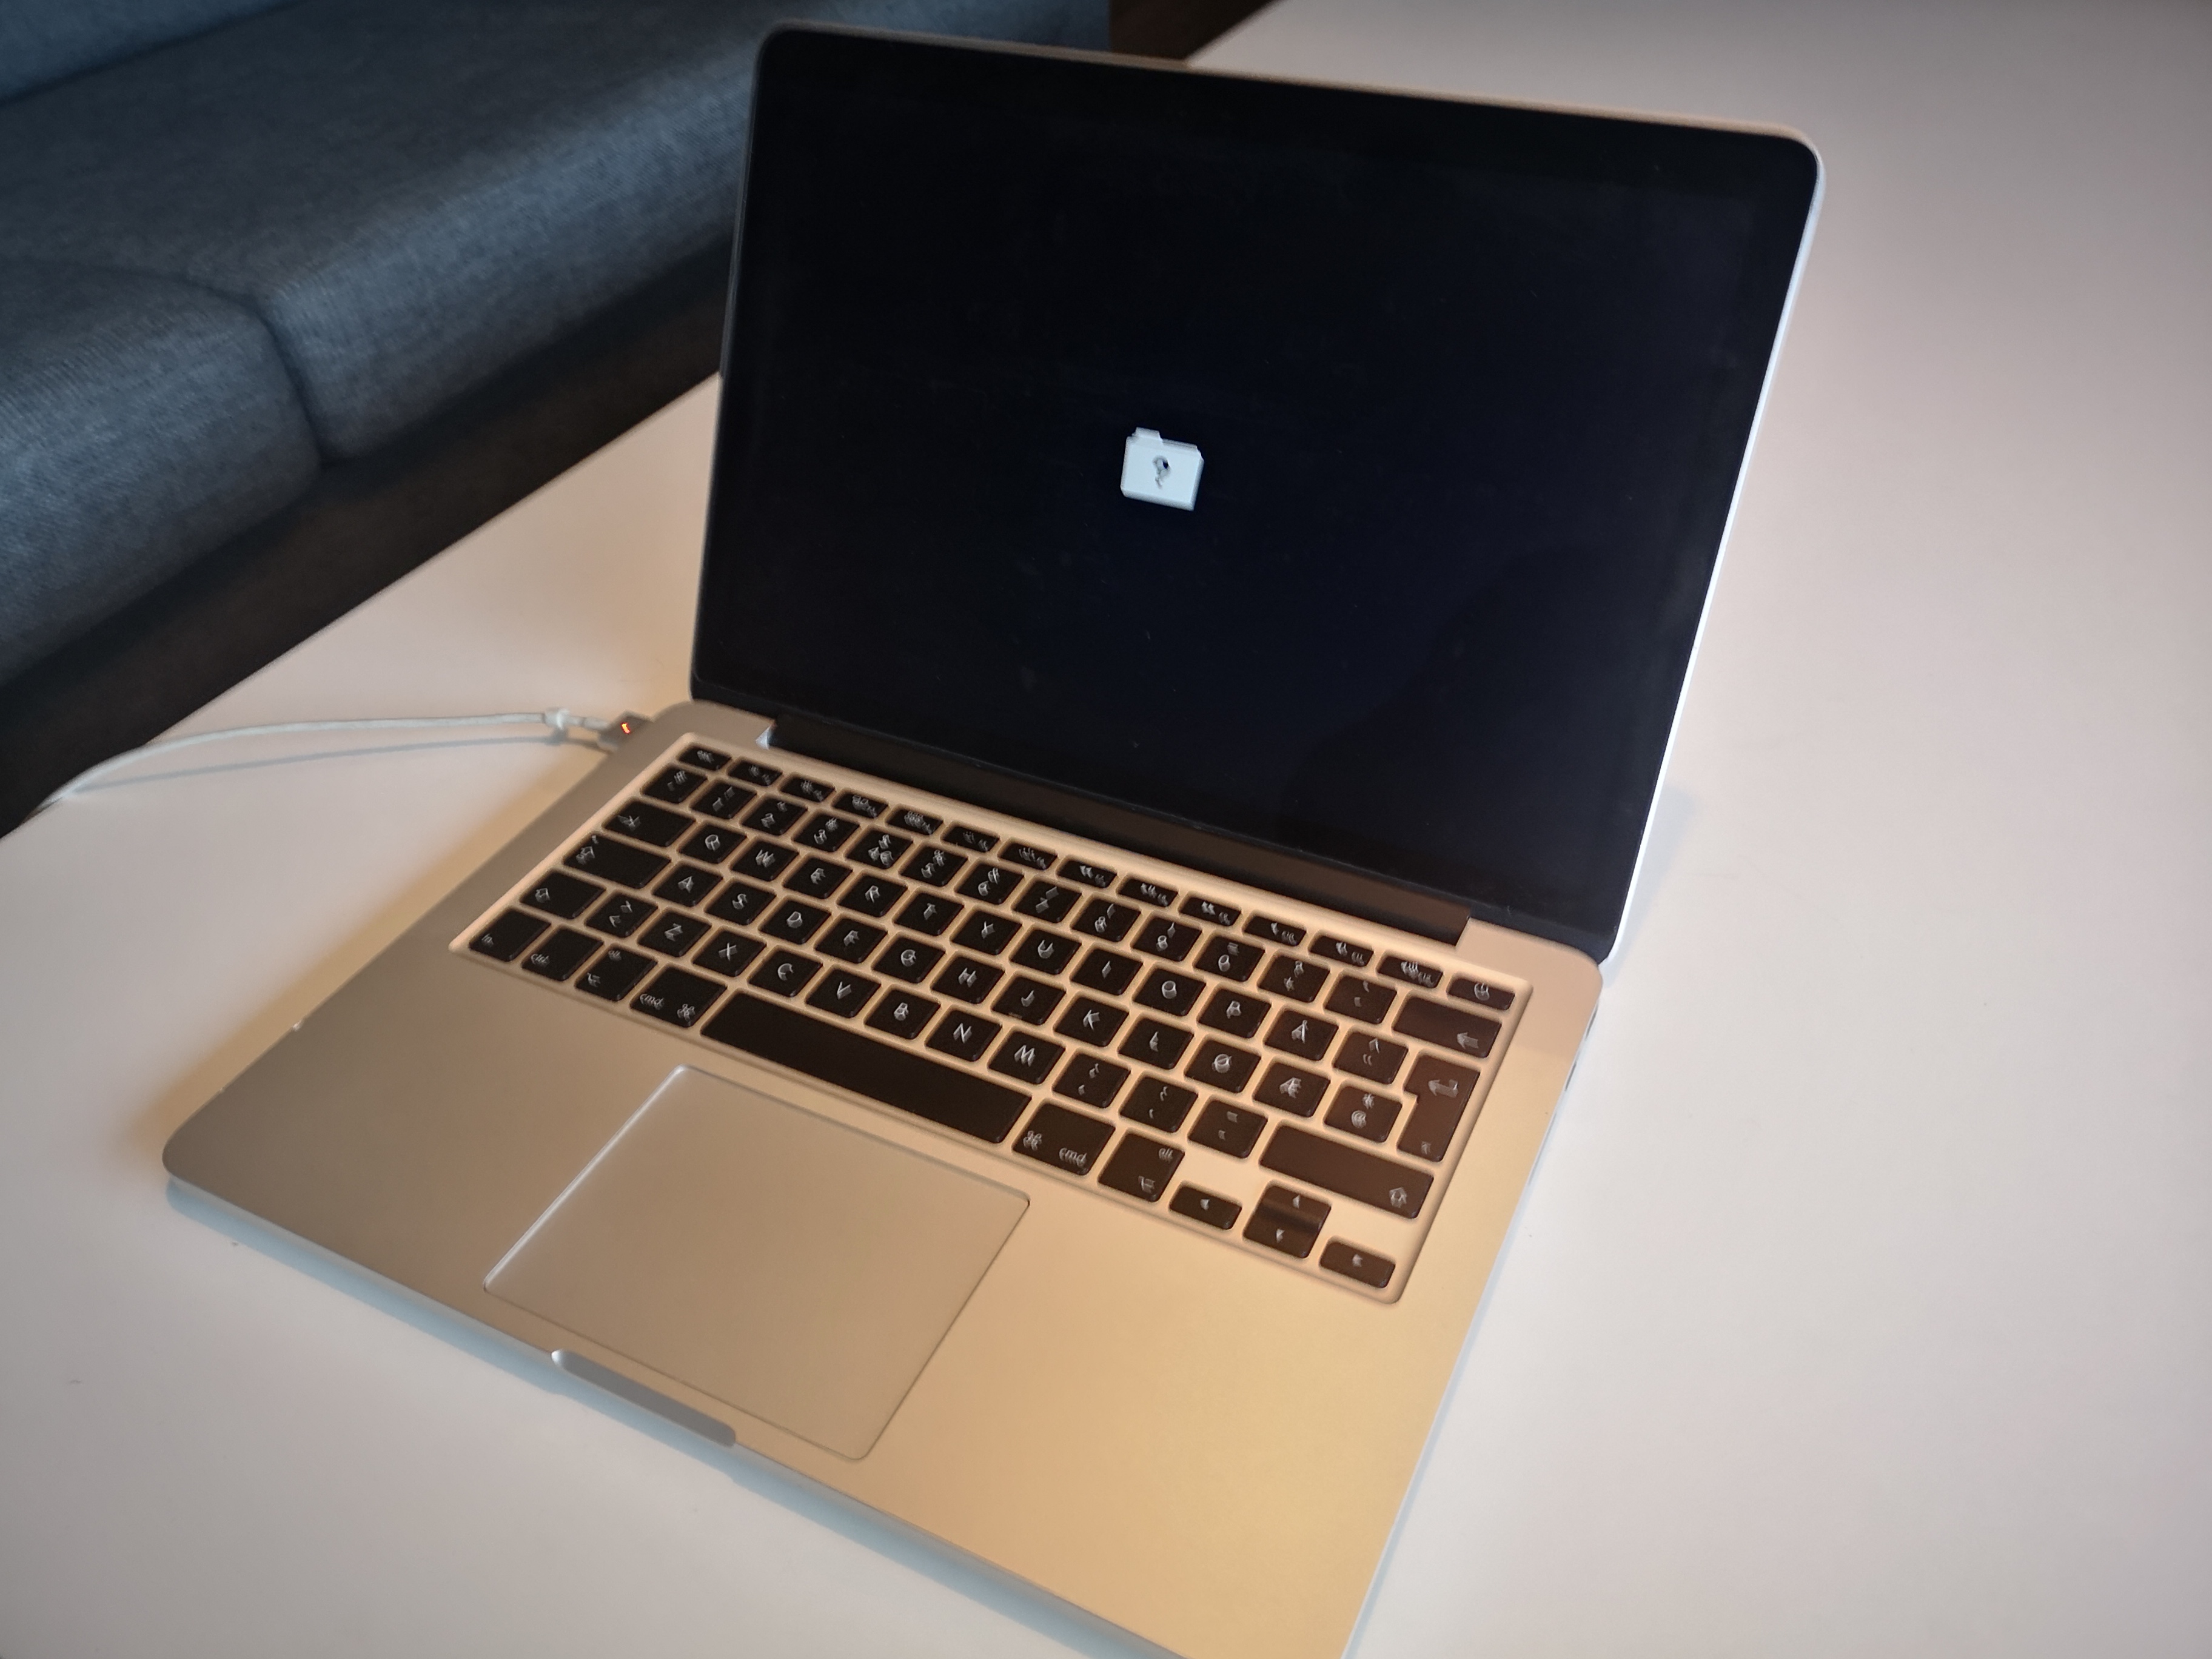
A folder and question mark. That is not good. Apple support’s web pages suggested a corrupt file system or a hard disk failure. I connected an external keyboard, mouse and I tried Command + R during boot.
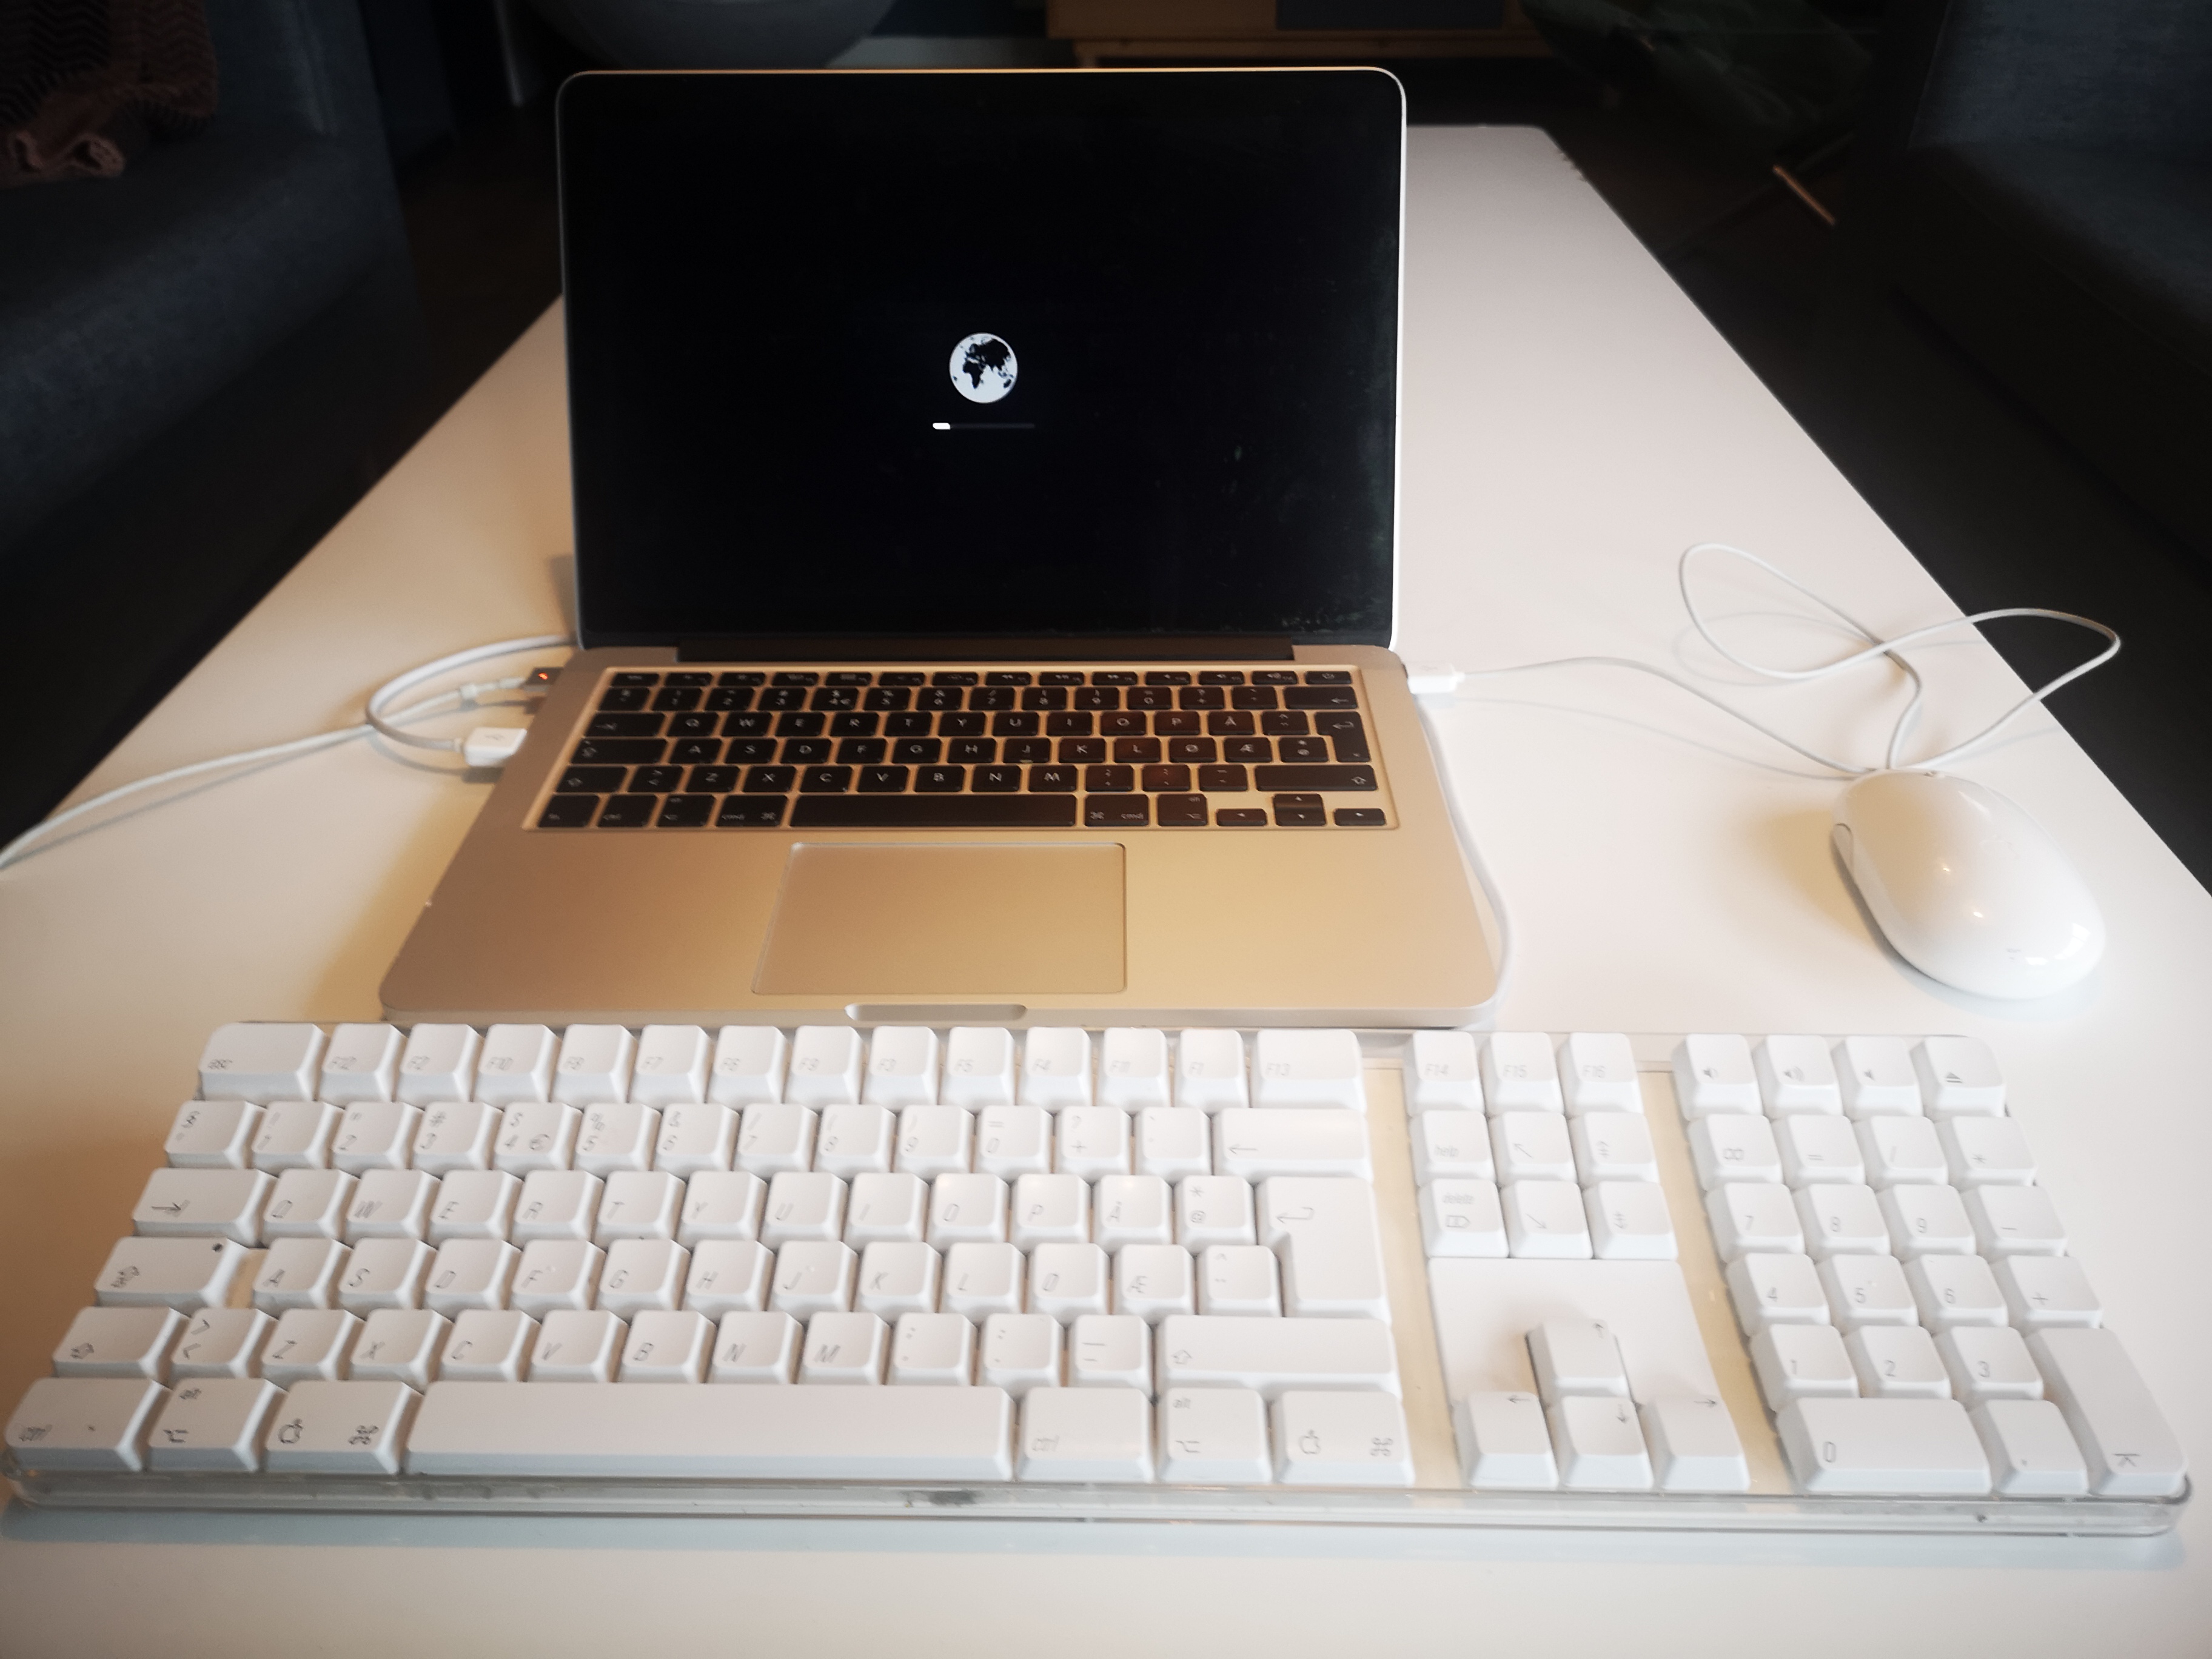
Luckily it worked!
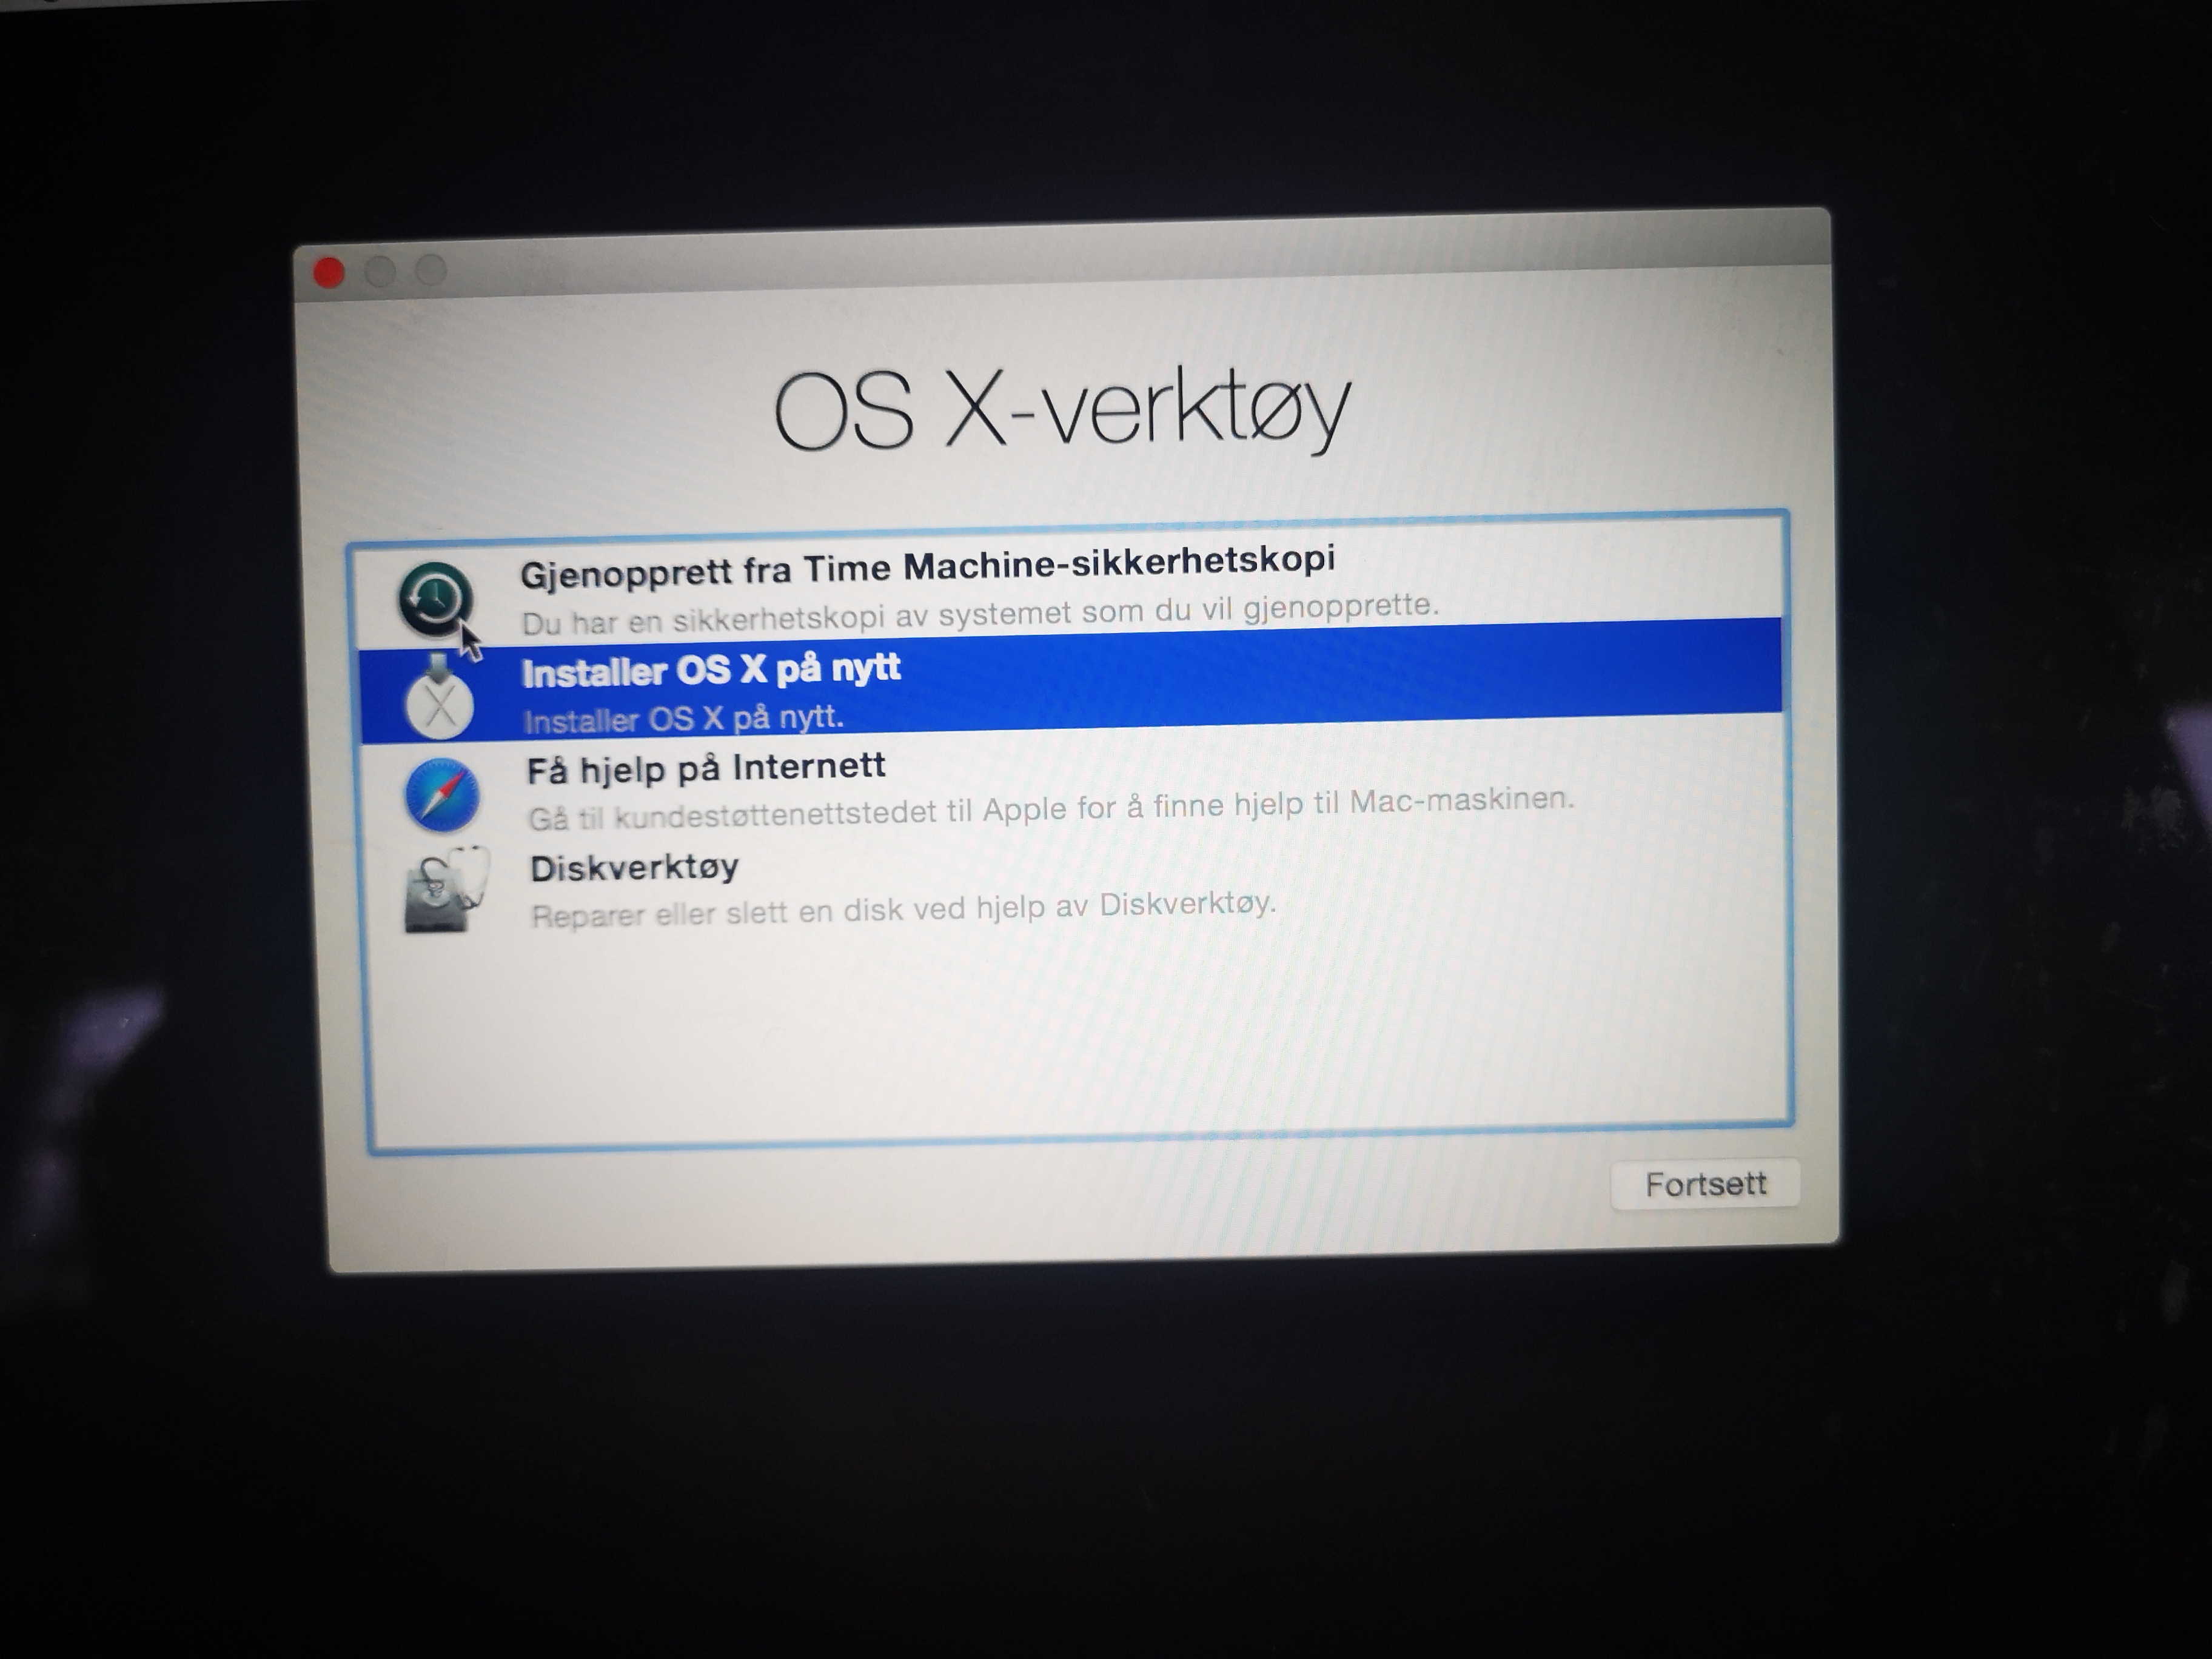
I was able to boot into the OS recovery mode. In recovery mode I am ready to install Yosemite.
But just two steps into the installation process the installation process could not detect the hard disk.
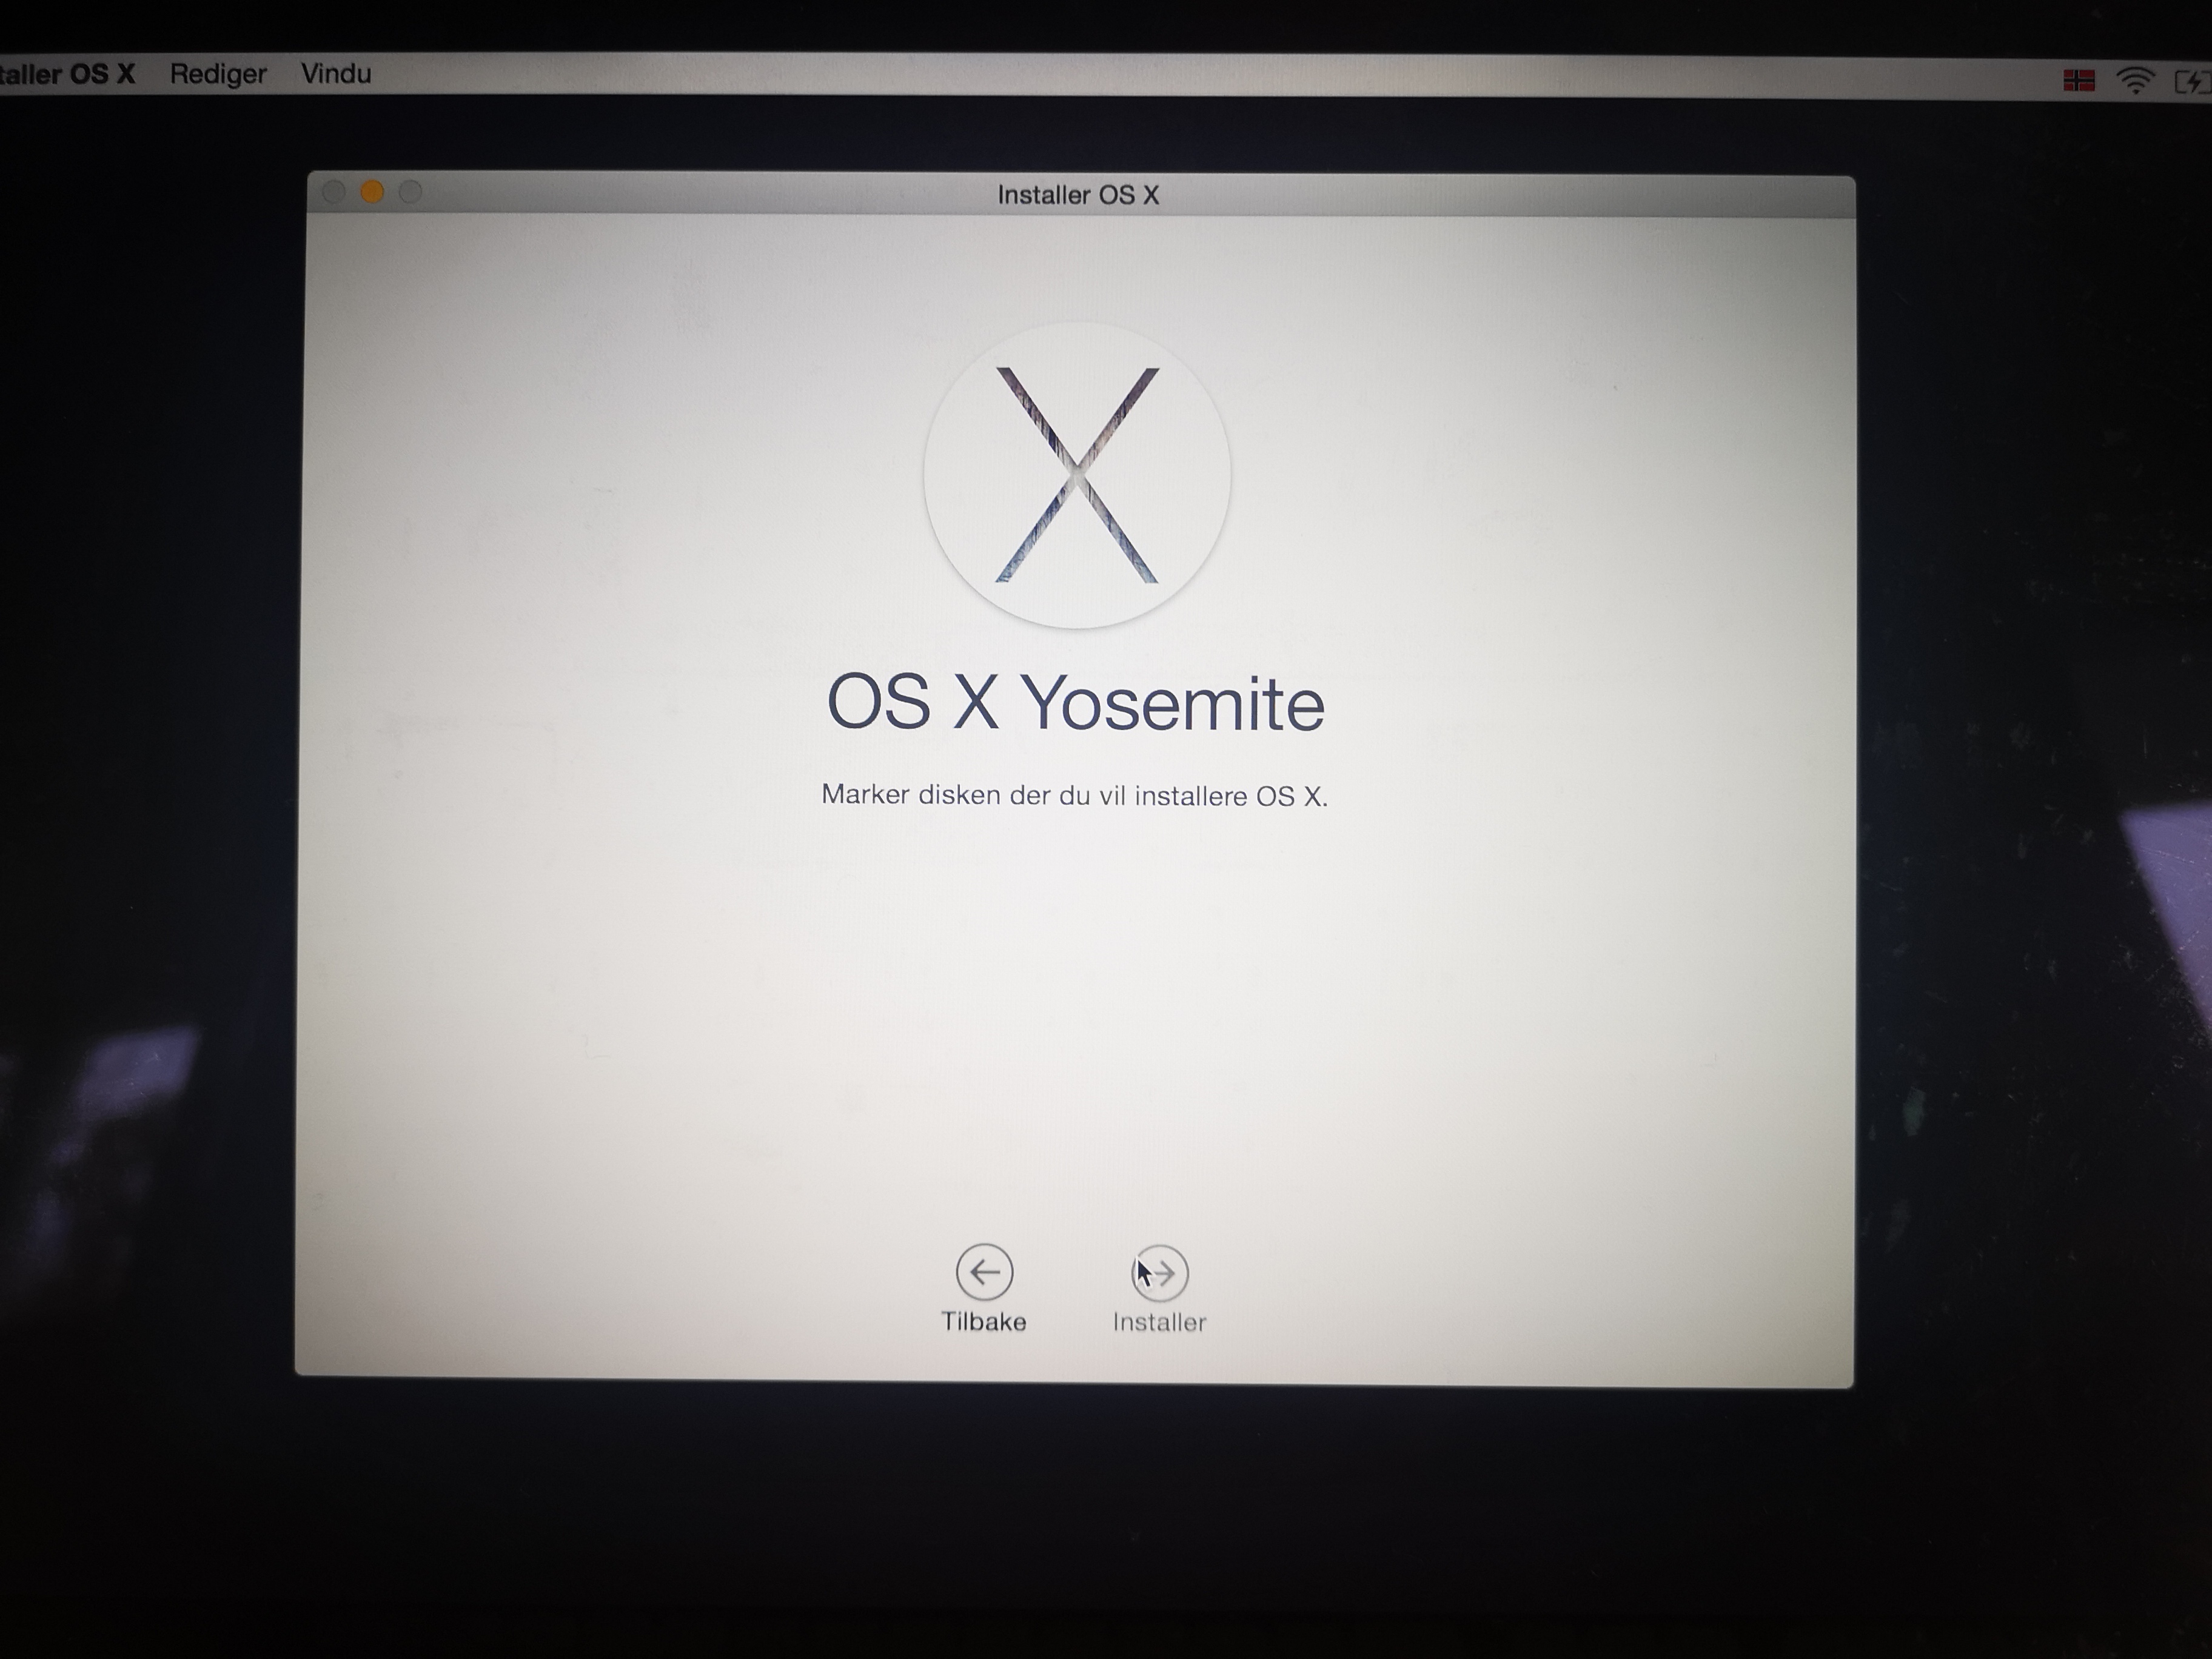
So clicked on the in the top left corner and opened disk utility.
Fortunatly, in recovery mode, I was able to verify that the disk is OK with no corrupted sectors. That means the hard disk is 100% functional.
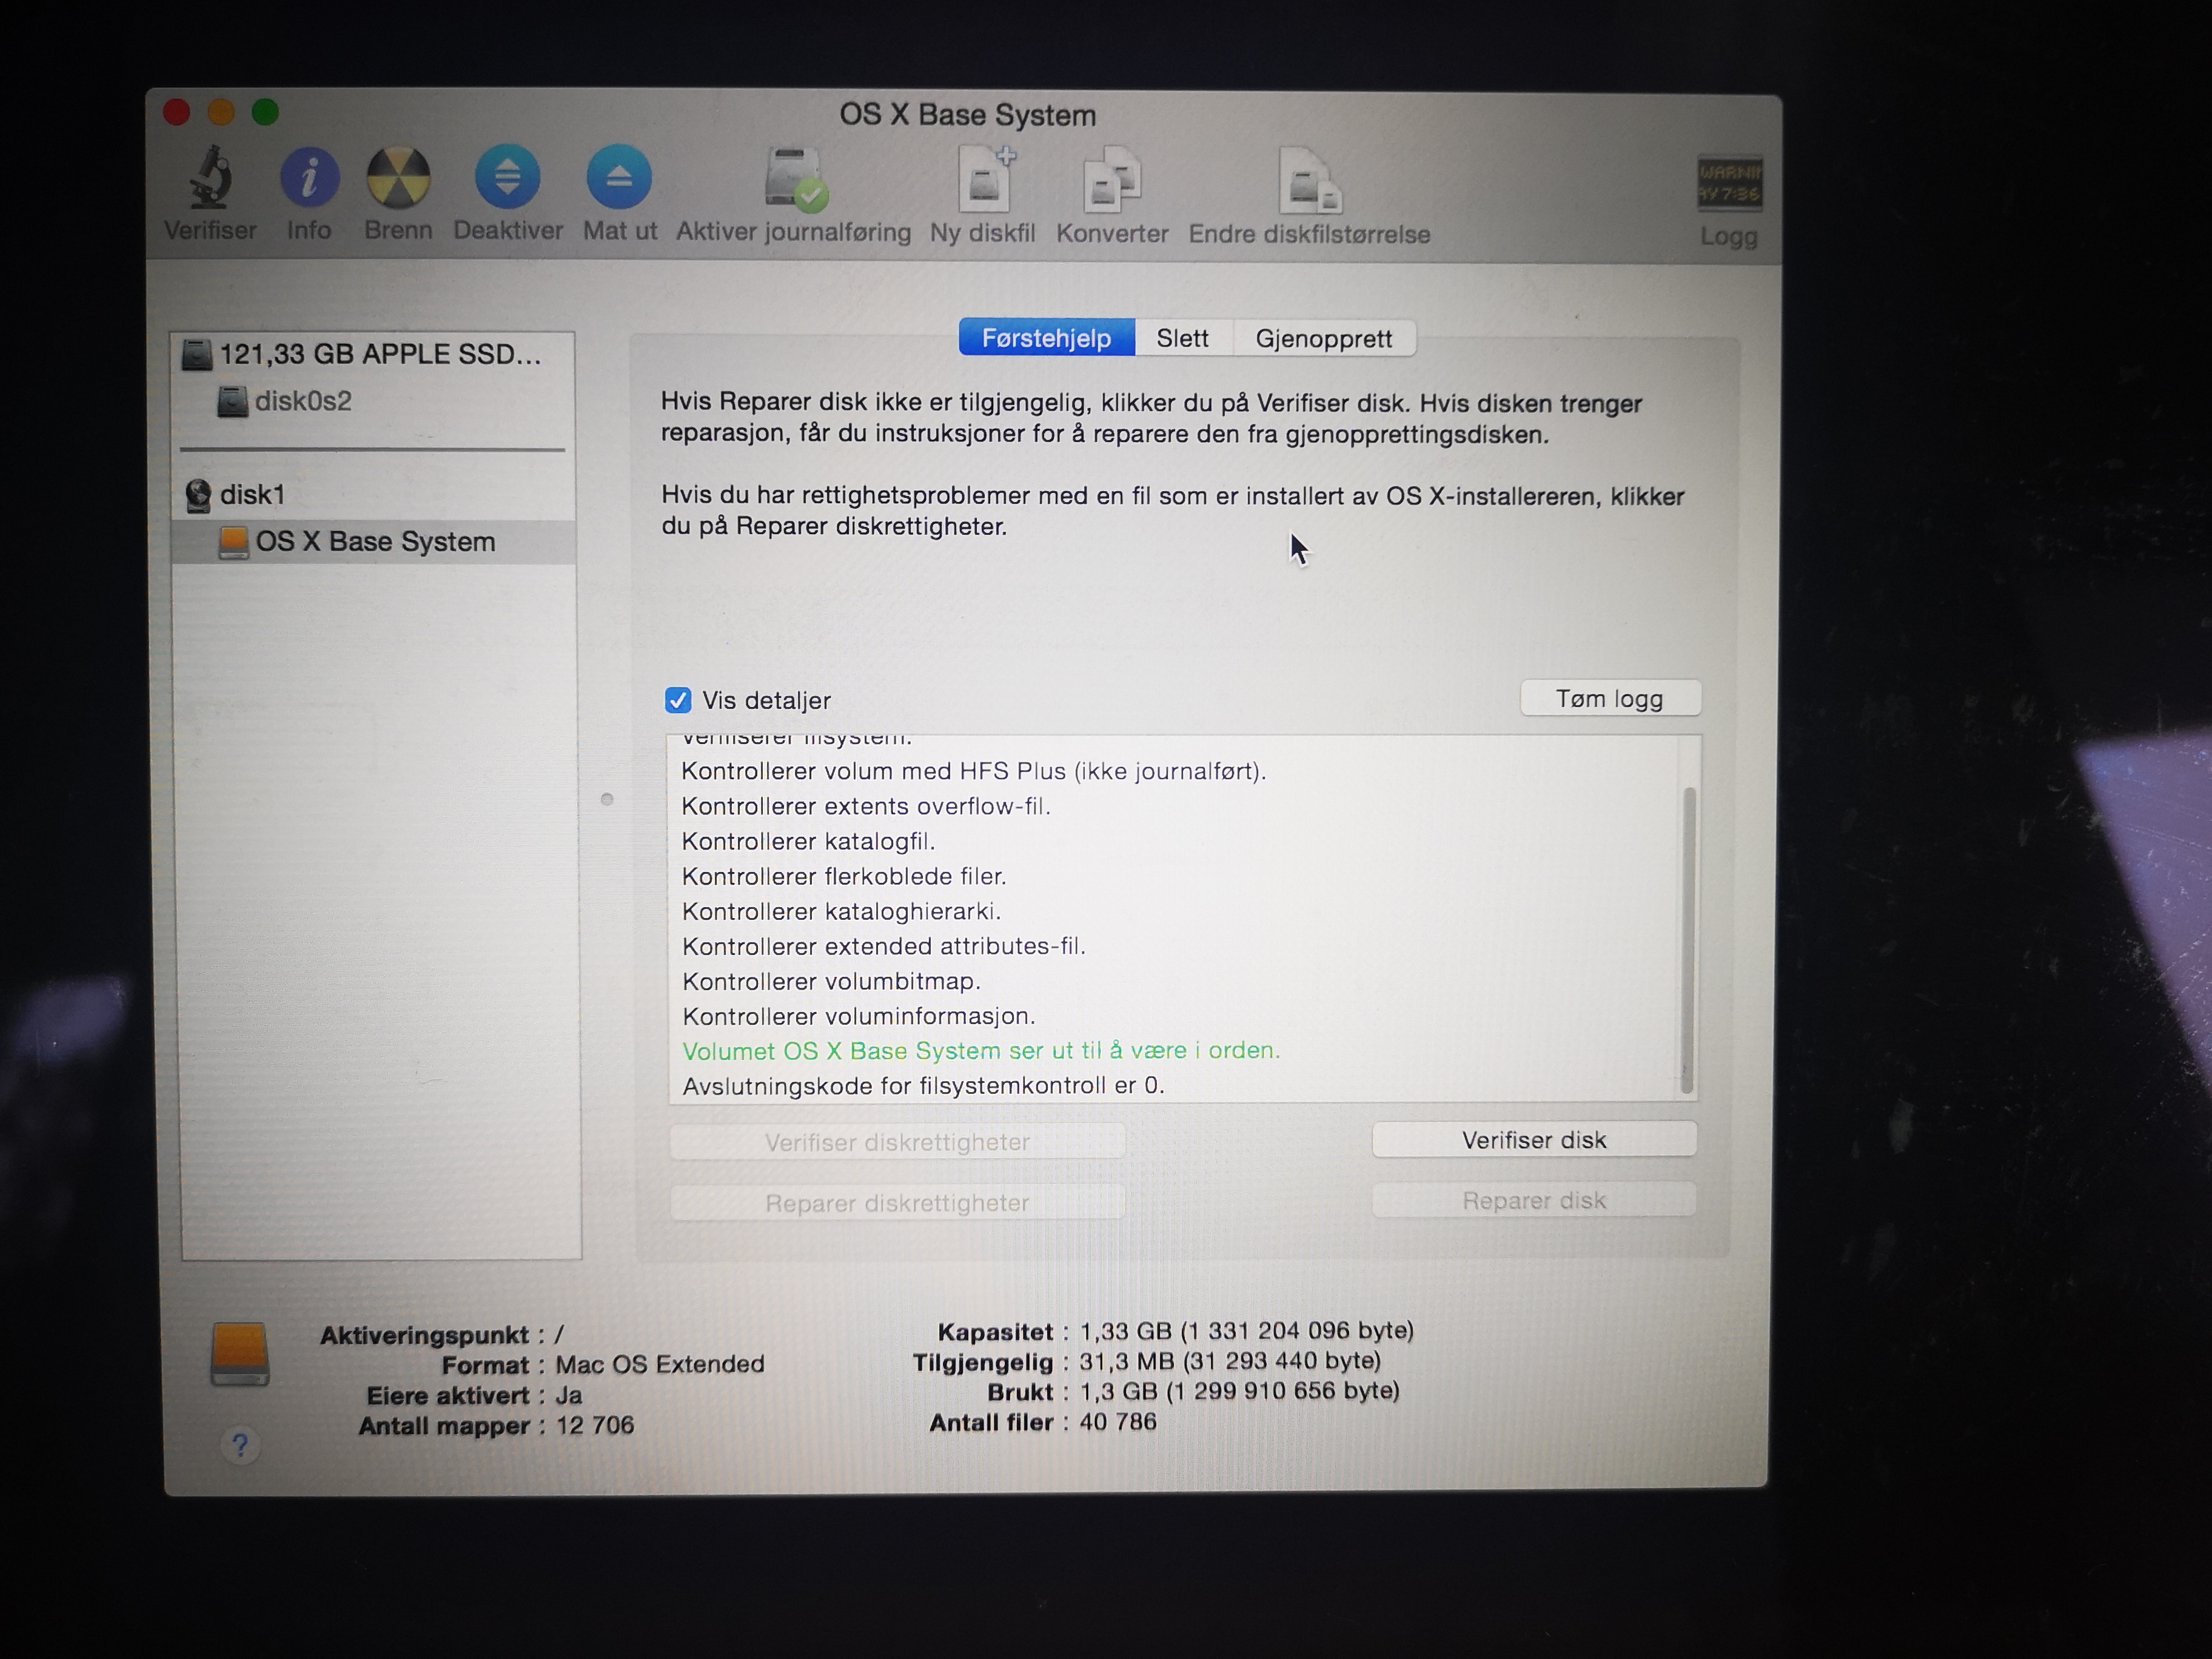
With the same tool I formatted the hard drive. Then I installed Mac OSX Yosemite.
The background on Yosemite is still the old climing route “the nose” in Yosemite national park. It brings back good memories from good climbing films around the time we all used OSX Yosemite.
As I mentioned I wanted to install photoprism and docker. Unfortunatly docker requires MacOS 11 or higher. I opened apple App store. I found macOS Sonoma, and clicked install. Unfortunatly this laptop did not support Sonoma. So I took a second look at OpenCore Legacy Patcher. The project provide support for modern macOS on older macs. This could make the machine useful, but it could also brick it. Practically making it into a large paper weight. I felt 600 NOK is worth the gable. So I installed OpenCore Legacy Patcher (If you are the precise type, and want to do the same steps at home, I used release 1.01).
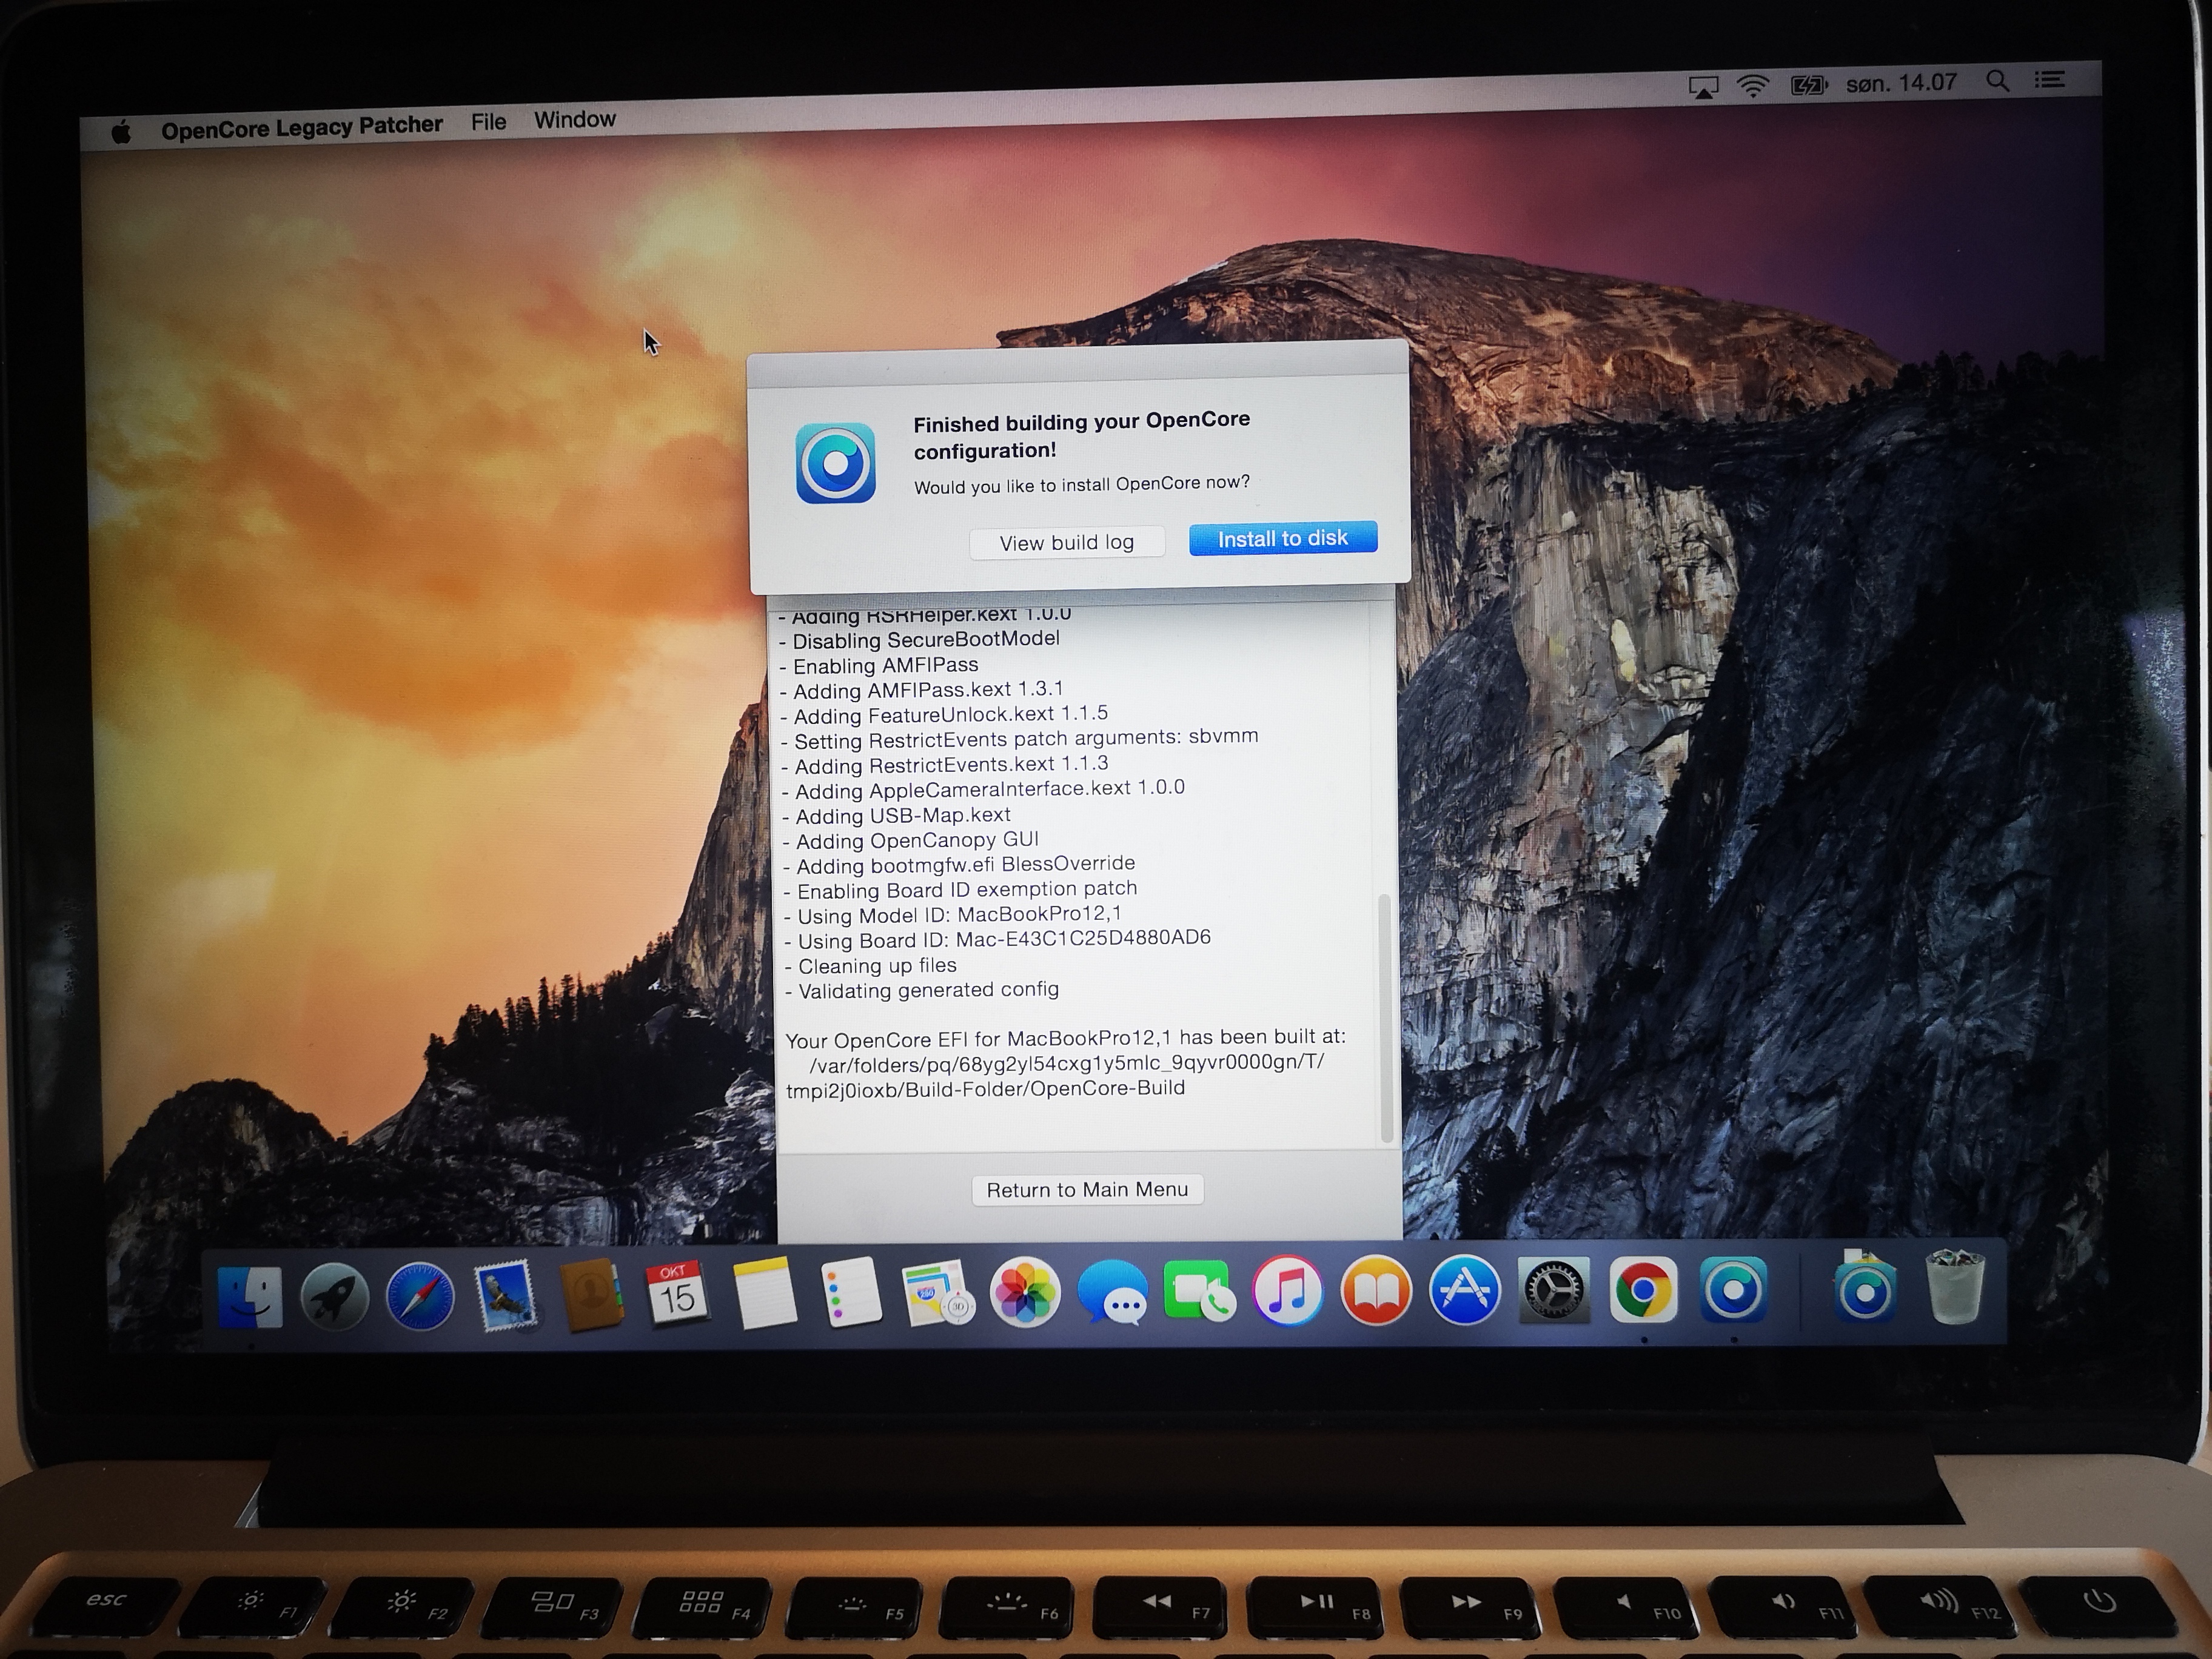
The steps I used are really well described in Greg Gant’s blog.
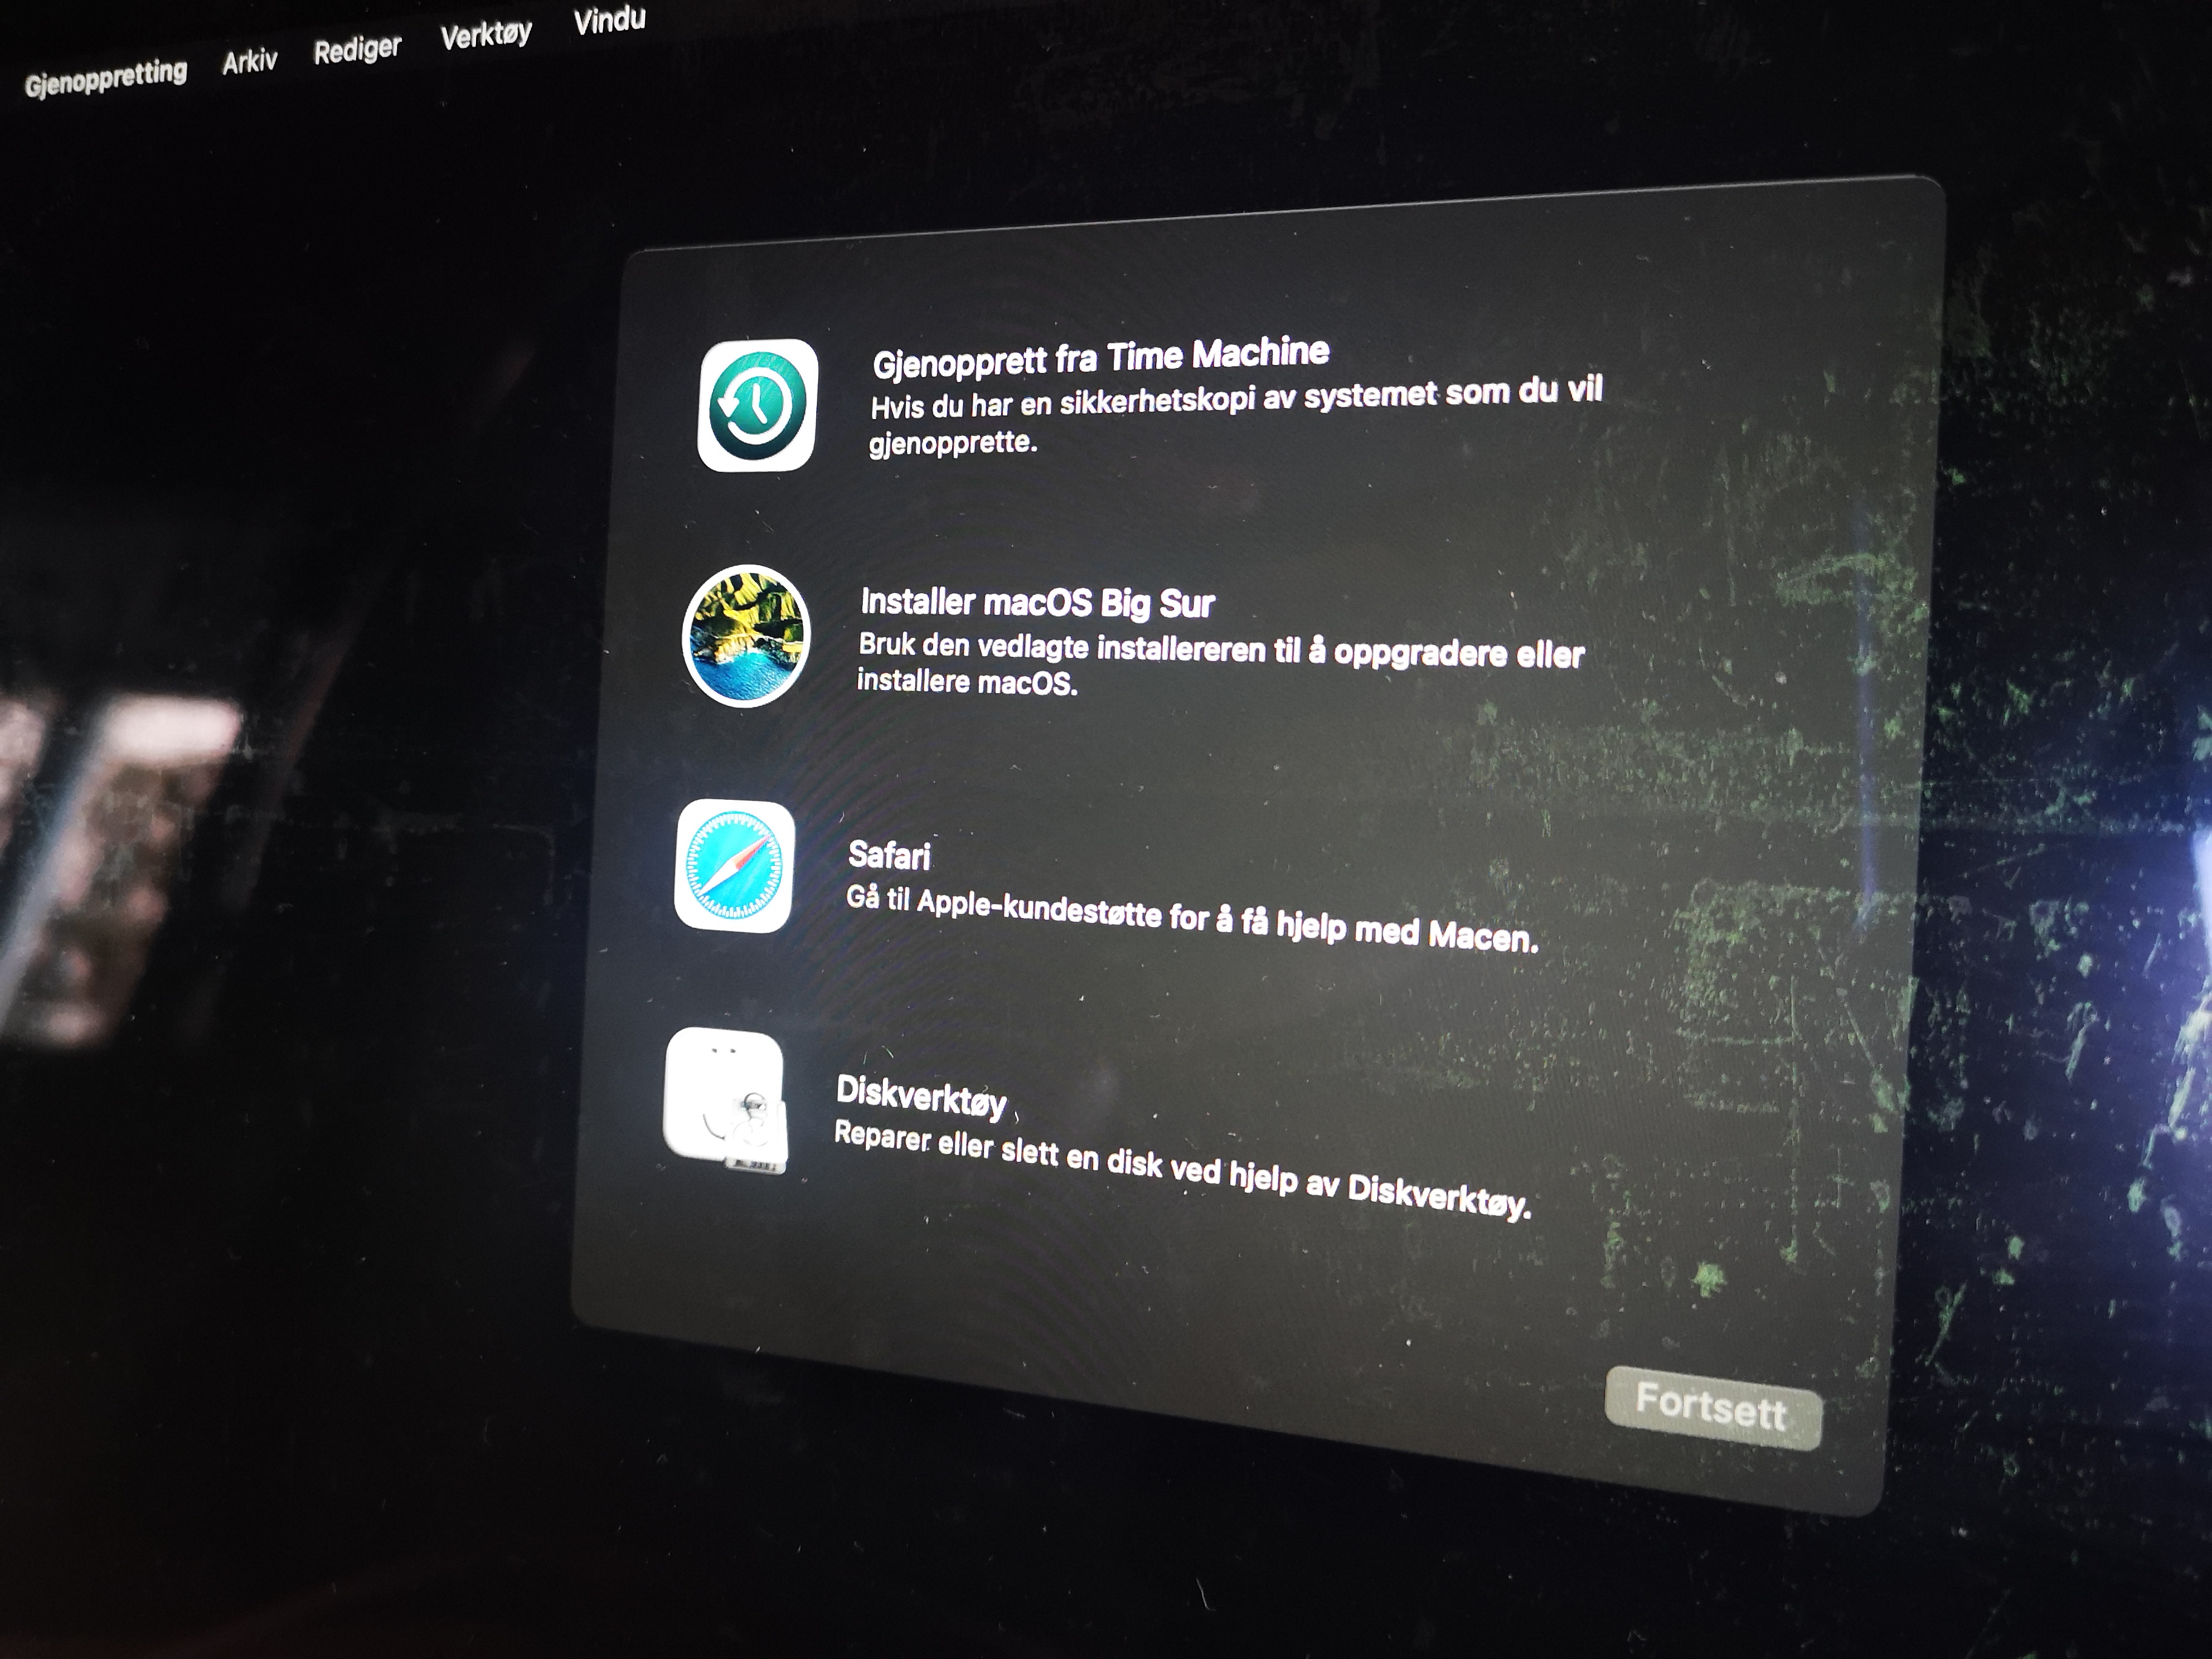
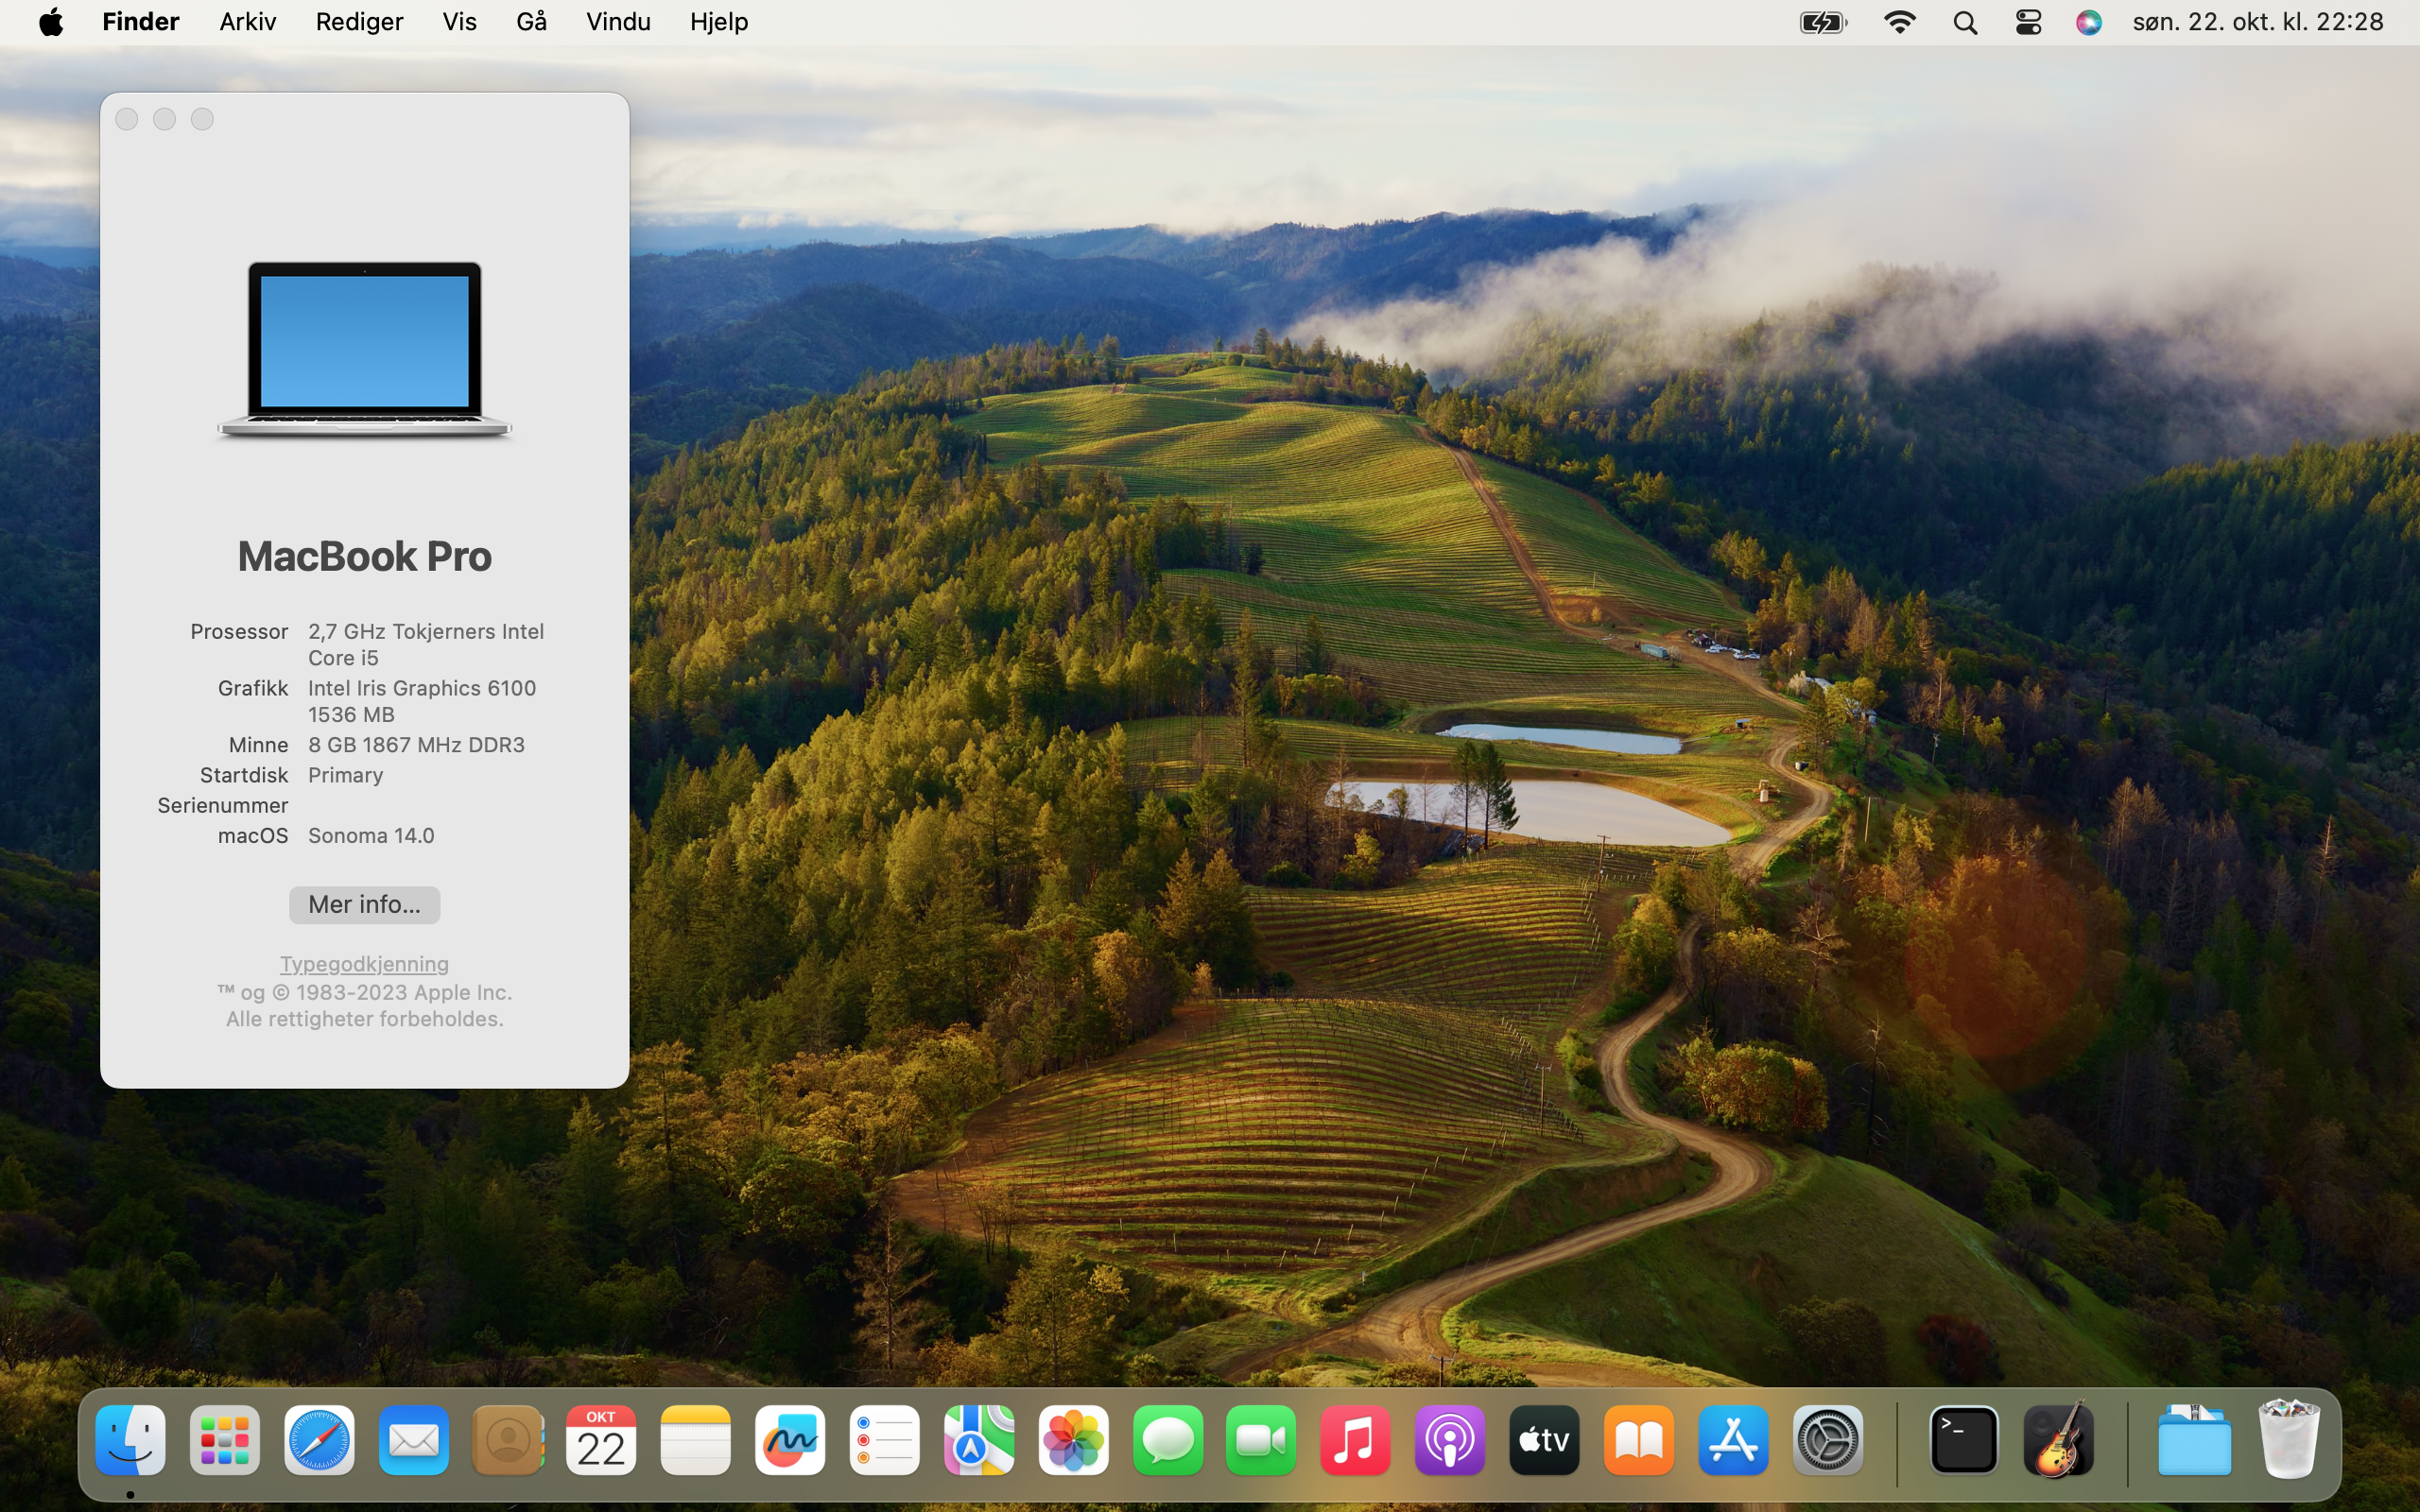
I went for the next version macOS Big Sur. But could I go for even macOS Somara? I went back to OpenCore Legacy Patcher I created a new image to a USB stick. 30 minutes later I hac confirmed that Somara worked. Both sound and graphics worked perfectly 🎉.
What is the Project Again?
The machine is verified. The machine still had sound and graphics But what did I do this all again? The original plan was to install photoprism and start hosting my own iCloud alternative. But this has already taken longer time than I expected. It was time to think smaller. I wanted to finish this.
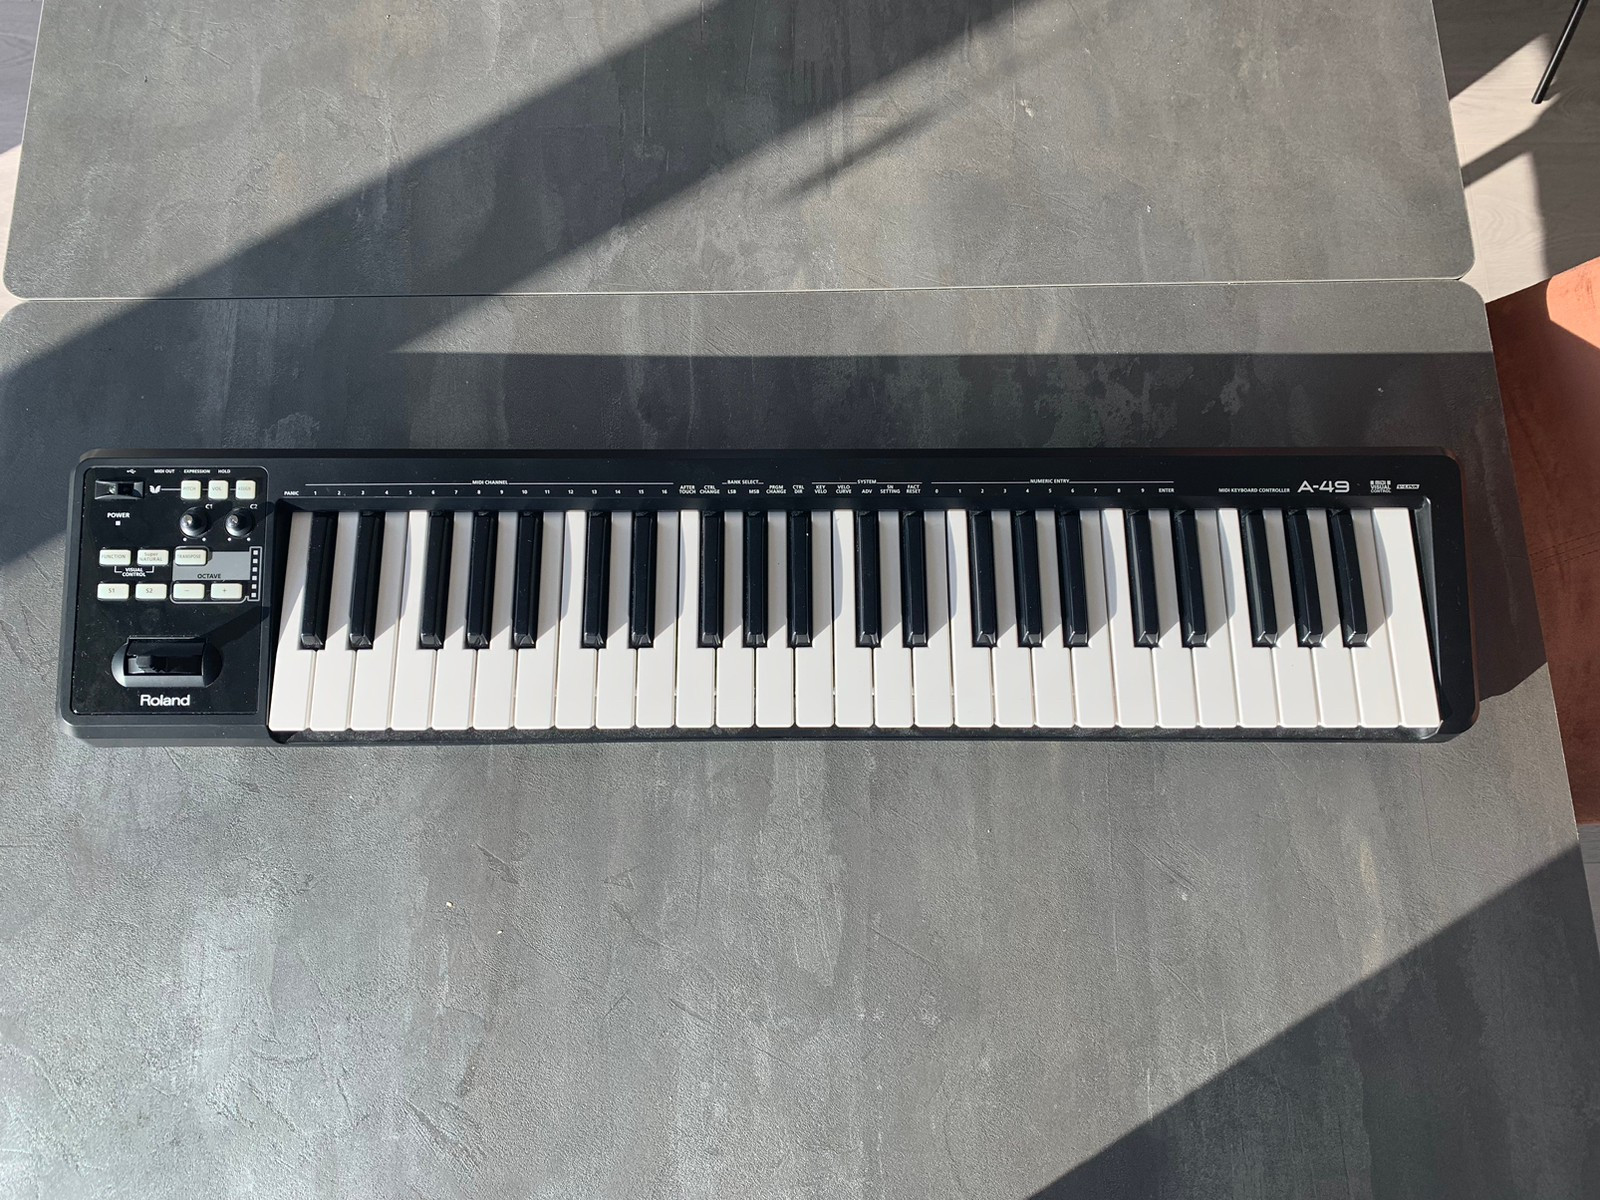
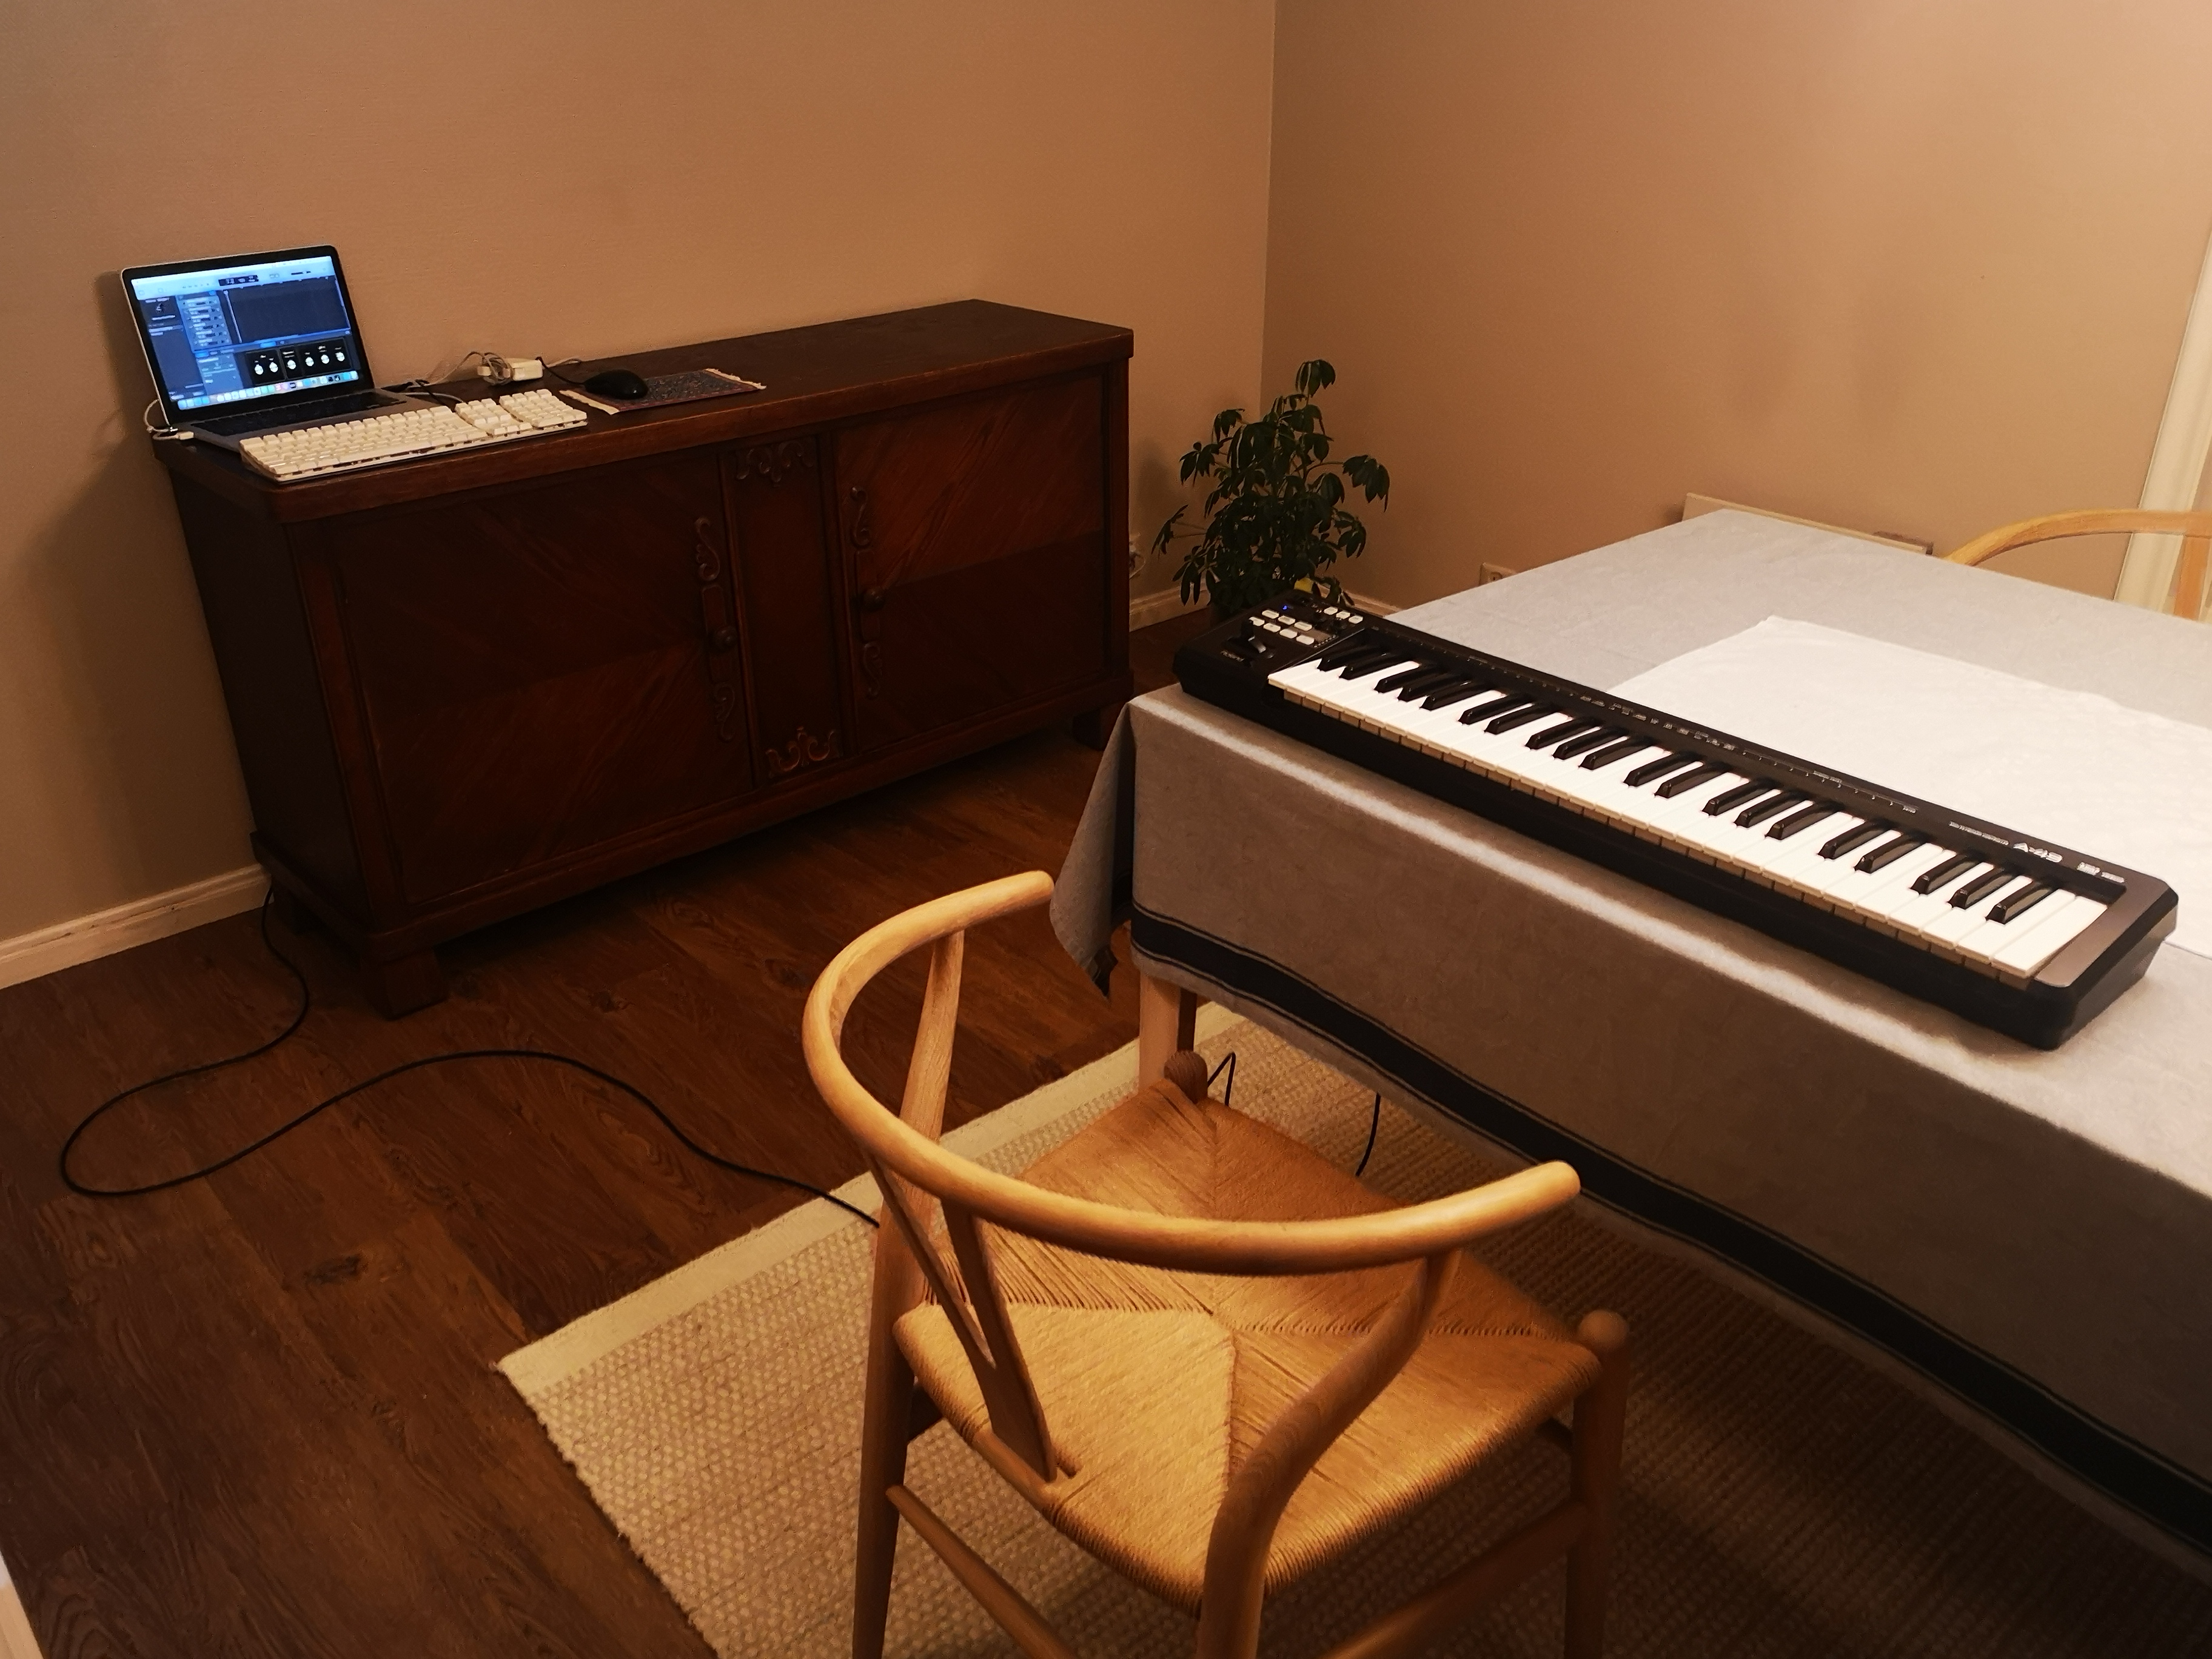
That is When I came across an old hobby. When I was in my teens I used to play the piano. I have been looking to pick this up again, but I was concerned I would loose interest quickly. So I bought a MIDI controller and connected it to Garage Band (with it’s Roland drivers).
Wow. This setup works like a dream 🎹.
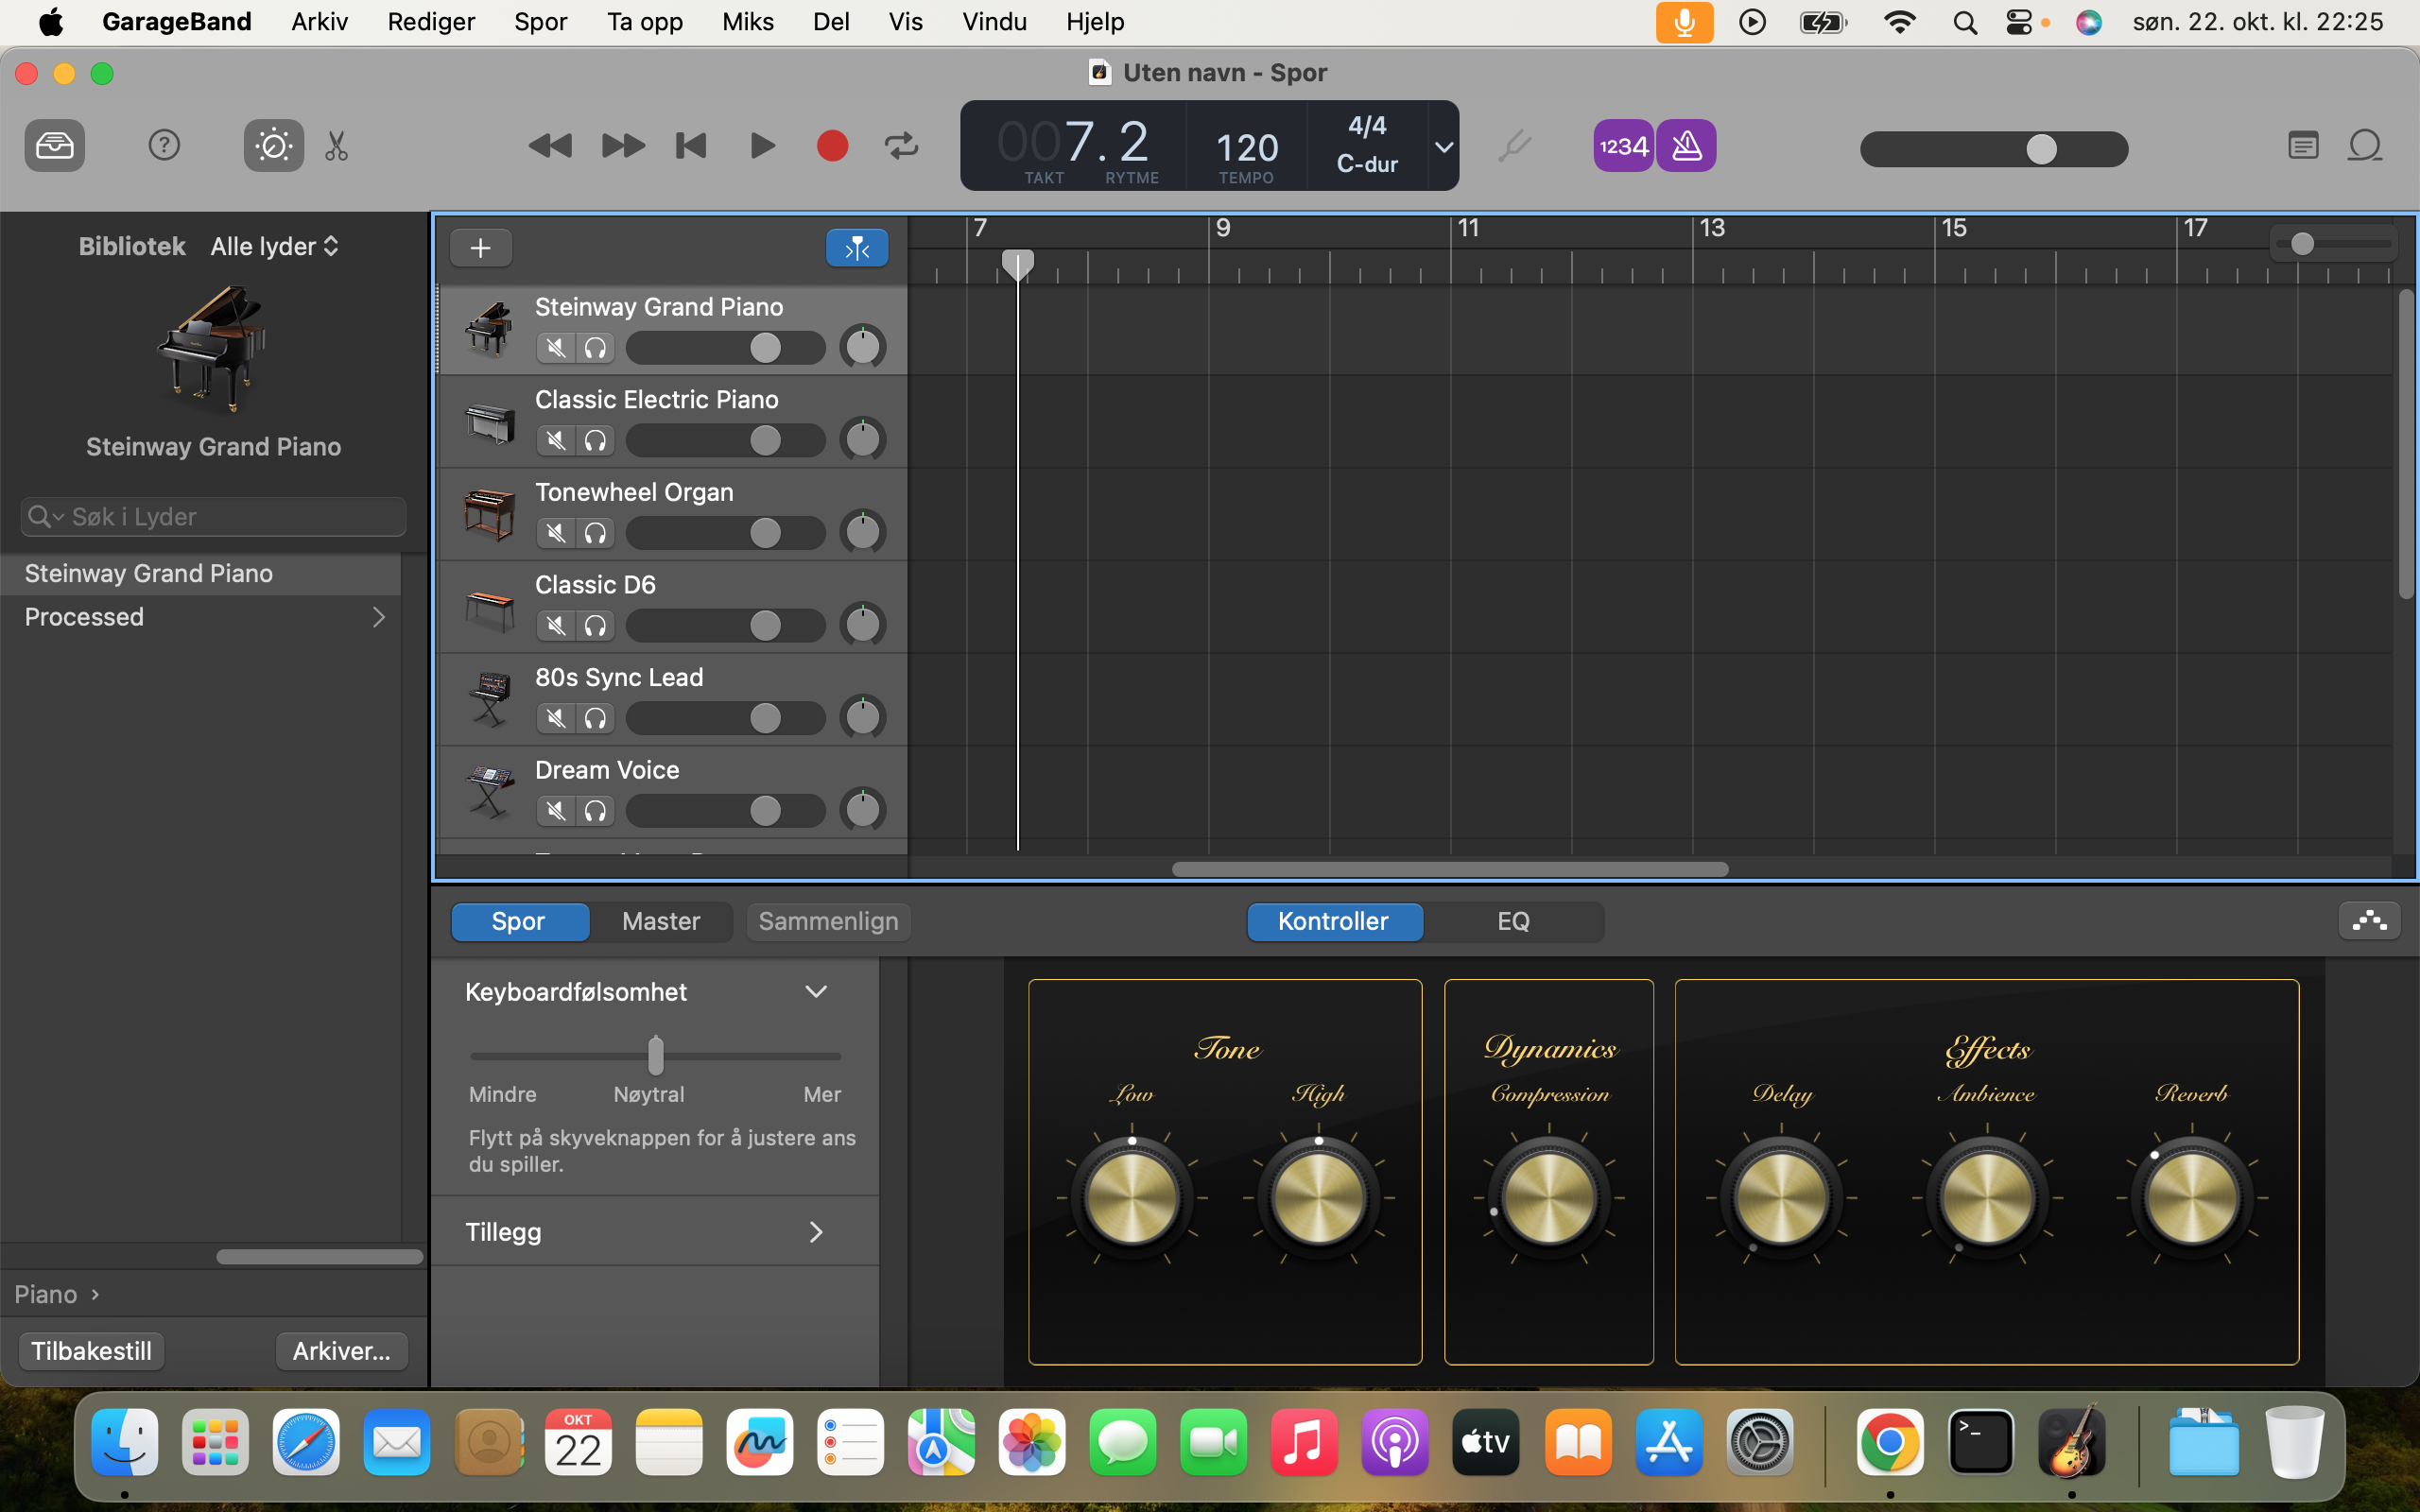
When I open GarageBand I just use the New Project > Software Instrument. Then I can start playing. It is literally just two clicks.
The head phones makes it really family friendly, and I have tos of “101 piano lessons” on youtube.
Final Thoughts
This project took some unforseen turns. I did not plan to plan to install macOS Sonoma. I did not plan to buy a piano. But in the end this project ended up being useful and fun. Also I got good use for an external keyboard and Mouse I have had around collecting dust. That is good.
I have still not parked the thought of replacing the motherboard. To make the (built in) keyboard useful again would be a personal achievement. But that has to wait for another day. But right now the piano stays in the living room until my partner throws it out.
I gained trust and experience with OpenCore Legacy Patcher. Now that I have seen how flawless it works there his a high chance I will use it again on my main private machine.